Using Chat custom emojis
Users can create and upload their own custom emojis, adding a personal touch to their conversations. These custom emojis are visible and usable by everyone within the same organization in Chat, whether in conversations or reactions.
By default, custom emojis are enabled, allowing all users to create and share their own emojis. However, admins can disable this feature or control who can upload custom emojis through the account settings. Additionally, admins have full access to all uploaded emojis, including information about the uploader’s name and email, the upload date, and the emoji's name. Additionally, admins can delete custom emojis directly from the web portal.
When using custom emojis, the system prioritizes the emojis you add as well as the most popular ones, making them easier to find. Hovering over a reaction or emoji will display its name and show a larger view for easy identification. You can also copy and paste custom emojis within Chat to streamline your communication.
Learn more about enabling and managing custom emojis for Chat.
Requirements for using custom emojis
- Zoom desktop app
- Windows: 5.16.0 or higher
- macOS: 5.16.0 or higher
- Linux: 5.16.0 or higher
- Zoom mobile app
- Android: 5.16.0 or higher
- iOS: 5.16.0 or higher
Limitations of custom emojis
- Custom emojis won’t be accessible for use within encrypted Chat channels.
- If chat emojis are disabled for an account or group, that particular account or group won’t have the ability to use custom emojis, either.
How to use custom emojis
Upload custom emojis
If admins have enabled custom emojis and given you permission to upload your own emoji, your custom emoji can be uploaded through the Zoom desktop app and mobile app.
- Sign in to the desktop app.
- Click the Chat tab
 .
. - Next to the chat compose box for any message, click the emoji icon
 .
. - Click the more option
 to view the full list of available emojis.
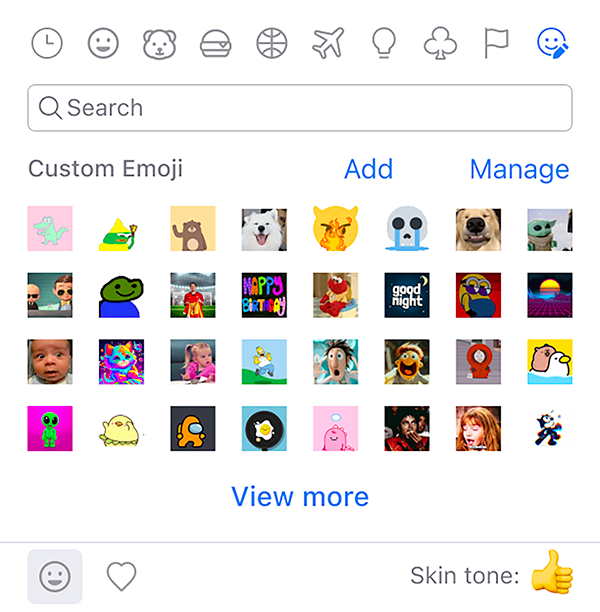
 - Click the custom emojis icon
 to jump to that section.
 - Click Add to add custom emojis.
A window will appear where the emoji is uploaded and given a name. - Drag and drop a custom created emoji file or click Choose files to use your system file browser to find and select the file.
Note: Custom emojis support JPG, JPEG, PNG, and GIF file types, with a recommended square shape and a size of 256 KB or smaller. Transparent backgrounds are also recommended. - Under the Give your emoji a name section, enter a simple name that others can use to search to find your emoji. You can use letters, numbers, and underscores.
- Click Add to upload this custom emoji.
Manage your custom emojisf
- Sign in to the desktop app.
- Click the Chat tab .
- Next to the chat compose box for any message, click the emoji icon .
- Click the more option to view the full list of available emojis.
- Click the custom emojis icon to jump to that section.
- Click Manage to view and manage custom emojis uploaded by you.
Note: Admins can also manage emojis from the web portal, including reviewing and potentially removing emojis for the entire account. - (Optional) Click one or more of your custom emojis to select them, then click Delete to remove those selected emojis from your organization’s account.
Use custom emojis
- Sign in to the desktop app.
- Click the Chat tab .
- Find the message you want to react to.
- Next to the chat compose box, click the emoji icon .
- Click the more option to view the full list of available emojis.
- Click the custom emojis icon to jump to that section.
You can see all custom emojis within your organization by clicking the View More button at the bottom to load more emojis. - Click the custom emoji you want to use to react to the selected message. The selected emoji will be used as a reaction for that message.