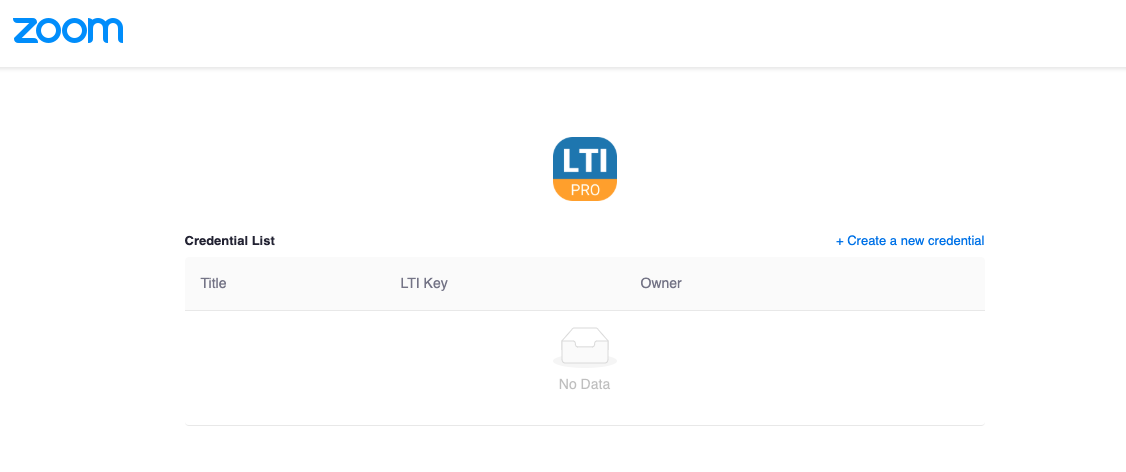
Configuring LTI Pro 1.1 for Schoology
This article provides instructions for configuring Zoom’s LTI Pro with Schoology.
How to configure LTI Pro in Schoology
- Sign in to the Zoom Marketplace as an account administrator.
- Click Manage, then click Apps on Account, and find the LTI Pro App.
- Click the ellipsis in the Action column and click Configure.
- Click Create a new credential.
- Choose LTI 1.1 and enter the name for your LTI.
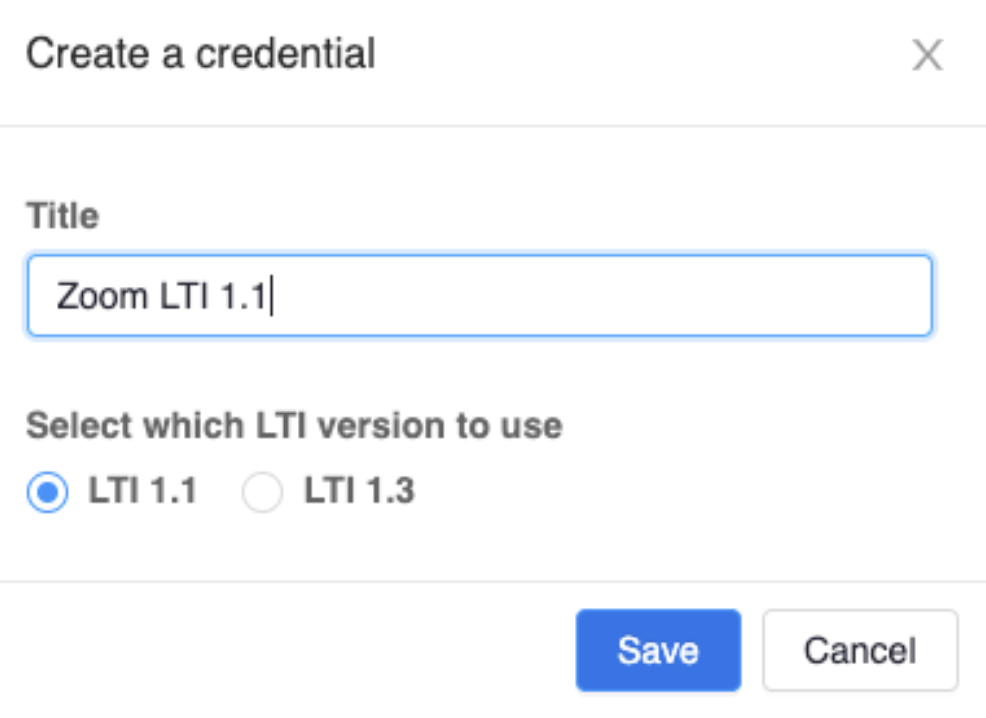
The app displays the LTI 1.1 credential and configuration page. The page has the LTI URL, LTI Key and LTI Secret which you need for configuring the LTI in the LMS. - Login to Schoology as a system admin.
- Go to Tools, and click School Management, then click Integration.
- Go to the External Tools tab and then click Add External Tool Provider.
- Fill out the necessary information in the pop-up window as follows:
- Tool name: Zoom (or anything else you would like to name the tool).
- Consumer Key: Paste the LTI Key from the LTI 1.1 credential and configuration page.
- Shared Secret: Paste the LTI Secret from the LTI 1.1 credential and configuration page.
- Privacy: Send Name and Email/Username of user who launches
- Configuration Type: Manual
- Match by: URL
- Domain/URL: Paste the LTI URL from the LTI 1.1 credential and configuration page.
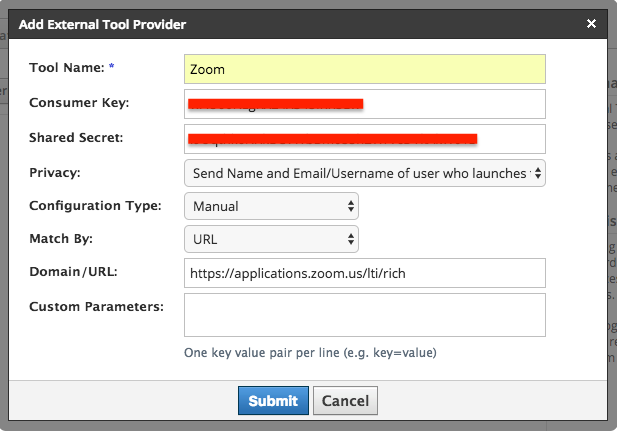
- Click Submit
How to install LTI Pro in a Course
- Login to Schoology as a course admin and navigate to the course where you would like to add Zoom.
- Click Materials on the left menu in the course
- Click Add Materials
- Click Add File/Link/External Tool
- Choose External Tool
- Tool Provider: Select Zoom (or what you entered for Tool Name in Step 7 above)
- Title: Zoom (or whatever else you would like the tool to appear as in the course)
- Click Submit
After clicking Submit, you should see something similar to the following:
 To use LTI Pro in the course, click Zoom and you should see something similar to the following:
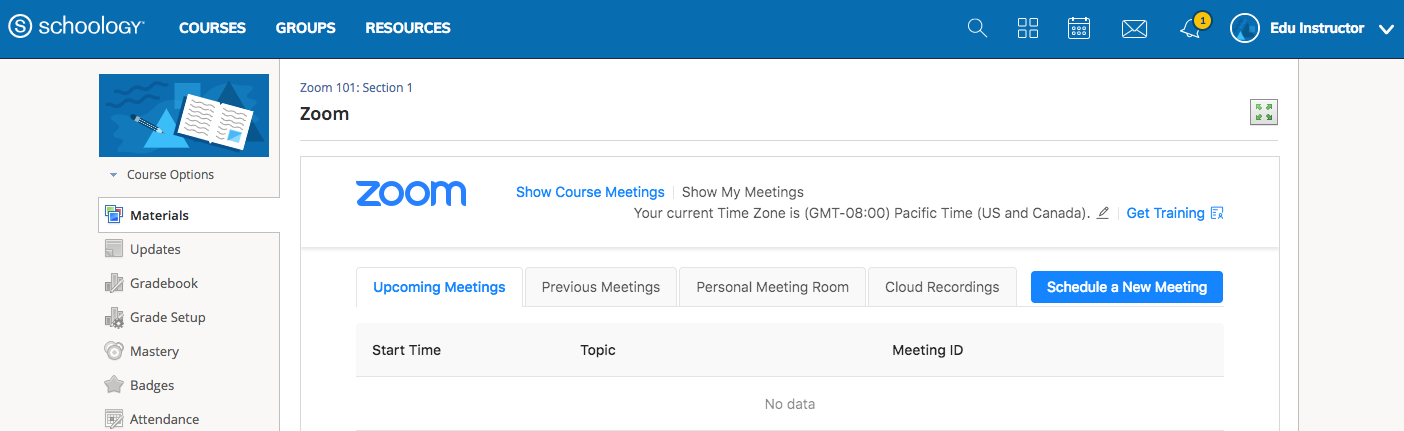
Instructors can now schedule and start Zoom meetings from within a Schoology course.
How to install LTI Pro in Schoology Group
Install the LTI Pro app to your organization and make it available for group installation:
- Login to Schoology as the admin.
- Go to App Center, click My Developer Apps, then click Add App.
- Fill in all the following mandatory fields and save changes:
- App Name: Zoom
- Category:
Your Category - Available for: Only people in my school
- Type of App: LTI 1.1 app
- Can be installed for: Group *** Domain/URL: https://applications.zoom.us/lti/rich or your app’s domain
- On the app page, click Install App and then click Add to Organization.
- Go to App Center, and click Organization app.
- Select your newly installed app and click Configure.
- Fill in the Consumer Key field with your LTI Key, and the Shared Secret field with your LTI Secret, and save.
Install the LTI Pro app for group:
- Choose the group that wants to install LTI pro.
- Click Install Your App(s) and select the LTI Pro app you created.
The app is now available for members of the group.