Starting the Virtual Room Connector Load Balancer
Note: The Virtual Load Balancer has been updated to Cent OS 7.6 as of April 30th, 2020. Due to the OS change, the Load Balancer will have to be redeployed using the latest VMDK and OVF file to update to the latest version.
The Virtual Room Connector Load Balancer can be deployed with multiple Virtual Room Connectors, for large scale deployment. Once the load balancer has been deployed, it can be used as the dial-in address for H.323 and SIP calls for Zoom meetings.
The Virtual Room Connector Load Balancer is packaged as an OVF and can be deployed onto any virtualization platform that supports OVF including:
For more information, please see the system specifications for the load balancer.
This article goes over:
Prerequisites for starting the Virtual Room Connector Load Balancer
- Business, Education, or Enterprise account
- Room Connector port subscription
- Deployed Virtual Room Connector
Deploying the load balancer
- Sign in to your Zoom web portal and navigate to H.323/SIP Room Connector.
- Click the Virtual Room Connector tab.
- Under Download & Token, click Virtual Room Load Balancer.

- Download the OVF and VMDK files.
- Open and deploy the files in your VM client.
-
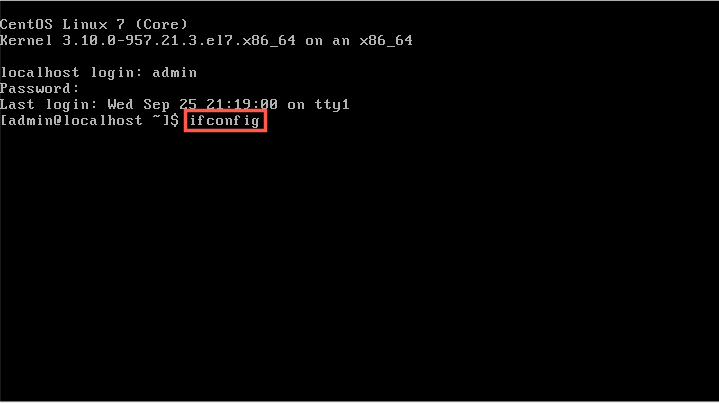
Once the Virtual Machine has been started, log in with the default credentials:
- Username: admin
- Password: This will be randomly generated on startup, but can set to a specific password that will not be displayed on startup.

- Use the command ifconfig to check the IP address of the server. If the server does not have an IP address, configure one manually.

- Login with the default credentials. During first login, change the password.

- Go back to the Virtual Room Connector tab of the web portal.
- Click Virtual Room Connector, and copy the Token.

- In the VM interface, click Configure.
- Paste the Token into the token field.

- (Optional) Change the IPV4 Address if desired.
- Click Submit.
Enabling the load balancer
- After the reboot, go back to the Virtual Room Connector tab in the web portal.
- Click Enable the load balancer for Virtual Room Connectors.

- Enter the address from step 10, and then click Save.
- Log into your Virtual Room Connector web console.
- Click Configure.
- In the Controller1 IPv4 Address, enter the IP address of the load balancer.

Note: If you are deploying multiple load balancers, enter a second IP address for the Controller 2 IPv4 Address. - Click Submit.
Changing the Admin login password
- In the VM click Login.
- Login in with the admin credentials.
- Click User > Manage.
- Click Change Password next to the admin account.

- Enter the current Admin password, then enter the new password, and re-enter it to confirm.

- Click Modify.