
The Zoom Phone quick start guide assists account owners and admins with the initial setup and introduces Zoom Phone features including multiple sites, phone users, direct phone numbers, and auto receptionists.
Notes:
Follow these steps after you've activated your Zoom Phone license. Everything configured during the initial setup can be changed later on. You must be the account owner to complete the following steps.
Notes:
Note: In the Users & Rooms tab, the account owner or admin will appear as the first user. Their phone status will be displayed as Activated under the Activation Status column.
Account owners and admins can assign Zoom Phone licenses, phone numbers, call queues, and other features to pending users before they accept their account invitation. They can also manage when users receive email notifications, access the Phone tab, and begin making or receiving calls. Additionally, admins can filter and distinguish between pending and active users within the Phone System Management section of the Zoom web portal. This allows admins to complete setup and training for users before granting them access to Zoom Phone.
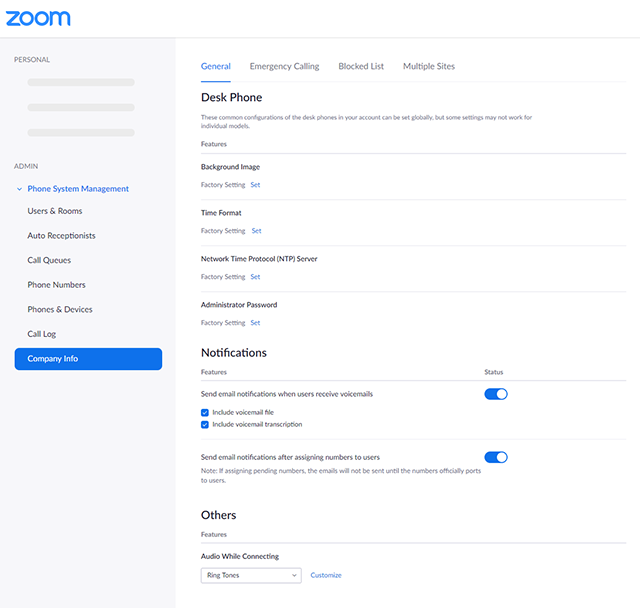
Account owners and admins can enable automatic activation of Zoom Phone for users upon assigning a calling plan. Alternatively, they can disable this setting, allowing admins to activate Zoom Phone manually. Admins can also customize user notification preferences by accessing the Notifications section on the Account Settings page under Company Info.
Learn more about configuring automatic Zoom Phone activation.
After you complete the initial setup, Zoom Phone options are displayed under Phone System Management on the left panel of the web portal.
Follow the sections below to continue setting up Zoom Phone.
After completing the initial setup, start using Zoom Phone by adding phone users, purchasing direct numbers, and provisioning desk phones for users that require them.
To use your existing phone numbers with Zoom Phone, you have to port the number to Zoom Phone. Zoom will work with your previous provider and port the number to your Zoom Phone account. Once the porting process is done, you can assign the ported numbers to users.
You can assign Zoom Phone licenses and calling plans to users in the Zoom account. Assigning a Zoom Phone license to a user will assign an extension number. Users will also receive an email, notifying them that they have been added to Zoom Phone.
When you first add phone users, you will receive an Automatically activate Zoom Phone user pop-up notification, letting you know that your account is currently set up to automatically activate users on Zoom Phone after you add them. Activation allows users to start making calls with Zoom Phone. You can delay Zoom Phone activation until you are ready by switching to the manual setup. Choose either the Change to manual activation or Keep automatic activation option. You can change your phone activation policy at any time by visiting the Zoom Phone tab under your admin Account Settings page.
Notes:
After creating phone users, you can purchase direct phone numbers and assign them to users. Users that are assigned a direct phone number will still be able to use their assigned extension number. You can also port over phone numbers from another service or carrier and change the main company number.

All Zoom Phone users can make and receive calls using the Zoom desktop client or mobile app. You can provision and assign devices to users who require a desk phone. Zoom Phone supports several devices.

After setting up your users and numbers, you can configure account-level Zoom Phone settings like email notifications, audio while connecting, and default business hours. You can also change policy settings to enable or disable certain Zoom Phone features.
During the initial setup, Zoom Phone creates a main auto receptionist for your main company number. The main auto receptionist answers calls using a personalized recording then routes calls. Get started by setting business hours and routing options for your main auto receptionist.

After setting up your phone users, direct phone numbers, and desk phones, you can set up these advanced features that organize your phone users and modify how calls are handled.
Auto receptionists answer calls with a personalized recording and routes calls to a phone user, or call queue. You can set up an auto receptionist to route to an IVR system that provides callers with several routing options and allows them to search a directory of your phone users.

If you want to organize your phone users into groups, you should create multiple sites. For example, you could create multiple sites based on office location or department. You can also assign a site code to each site, allowing users to easily identify and dial phone extensions that belong to the same site.

Call queues allow you to manage incoming calls so that they are routed to a specific group of users. For example, you can route calls to people in your organization's billing, sales, or customer service departments.

You can change the default emergency address you set during the initial setup. If you have multiple sites, you can change the default address assigned to each site. You can also enable emergency calling for users that do not have a calling plan or direct phone number.

You can use these features that enhance your Zoom Phone service.
Once phone users start making and receiving calls, you can view a detailed record of all calls. You can filter data by date, call type (inbound or outbound), and site. You can also export logs and view the log of a specific user.

You can also block numbers for all users in the account or for specific users. Blocked numbers can be inbound (numbers will be blocked from calling in) and outbound (phone users in your account won't be able to dial those numbers).

You can assign Zoom Phone licenses to Zoom Rooms set up in your account. This allows users to make and receive calls using Zoom Rooms.

The call quality dashboard allows you to see the overall quality of voice calls and filter data on a specific phone user. The usage report allows you to see phone usage data for a specific call queue or phone user.

Call delegation allows you to assign a phone user to make and receive calls on another user's behalf. Both users will be able to see the status of the shared lines.
Shared line groups allow you to share a phone number and extension with a group of phone users or common area phones.