Configuring LTI Pro 1.1 for Moodle
This article provides specific instructions for configuring Zoom’s LTI Pro with Moodle.
Note: Please ensure that LTI Pro has been installed and you are signed in to configure LTI Pro.
Configuring LTI Pro on Moodle
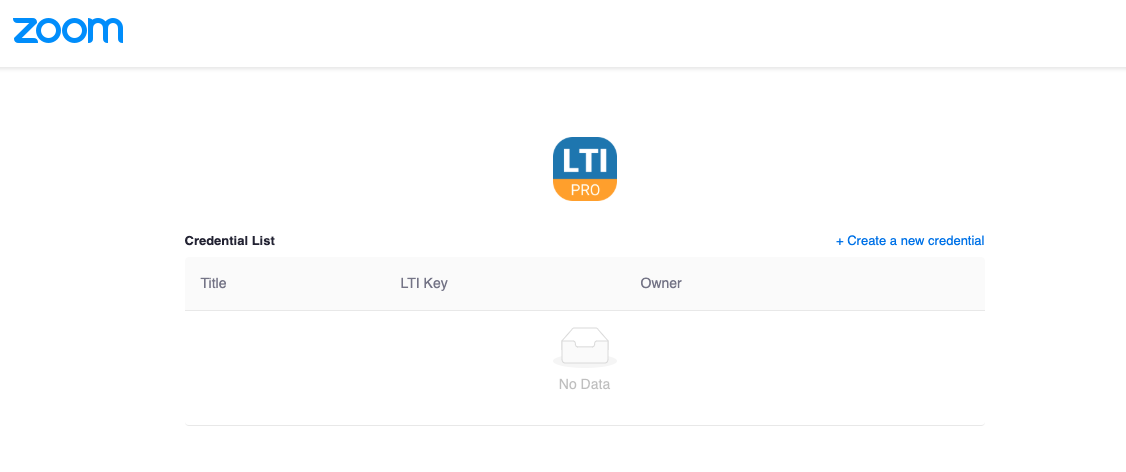
- Go to the LTI Pro application and Sign In and then click Manage and then click Configure.
- Click + Create to create new credentials.
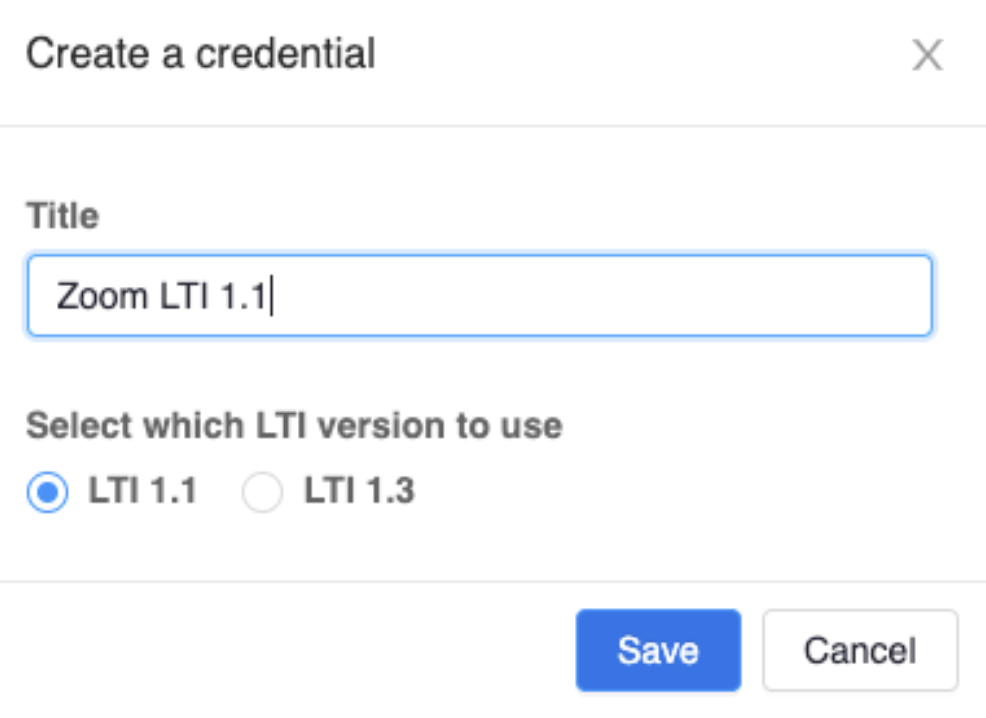
- Choose LTI 1.1 and enter the name of LTI.
- After creating a new LTI credential, you will see an LTI 1.1 credential and configuration page which will have the LTI URL, LTI Key and LTI Secret which will be needed for configuring the LTI in the LMS.
- Sign in to Moodle as an administrator.
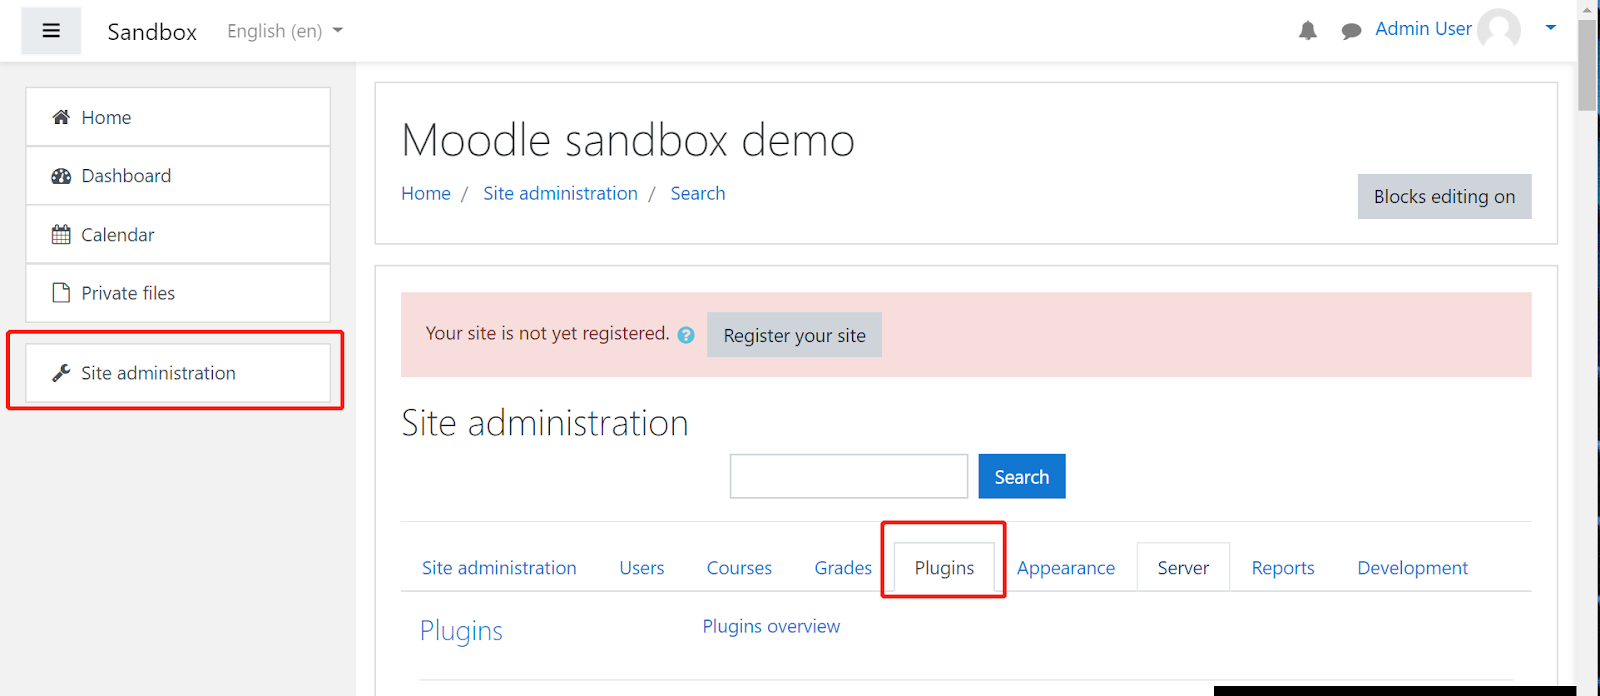
- Click Site Administration, then click Plugins.
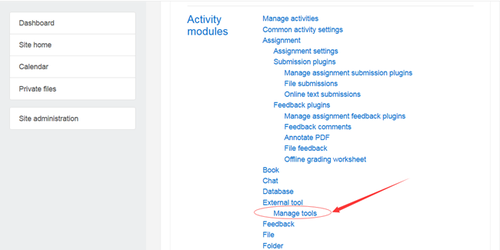
- Choose Manage tools.
- Click configure a tool manually to create the Zoom LTI.
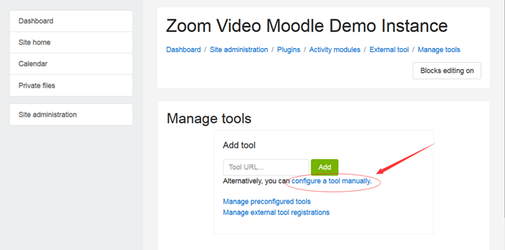
- Configure the external tool with the following:
- Tool name: Zoom Video Conferencing (or what you want the tool to be called.
- Tool URL: Paste the LTI URL from Step 1.
- Consumer key: Paste the LTI Key from Step 1.
- Consumer secret: Paste the LTI Secret from Step 1.
- Tool configuration usage: “Show as preconfigured tool when adding an external tool”
- Default launch container: “Embed, without blocks”
- Custom Parameters: If you need to make sure students can only see the meetings for their course, add the following attribute in the custom parameters: course_id_method_type=0
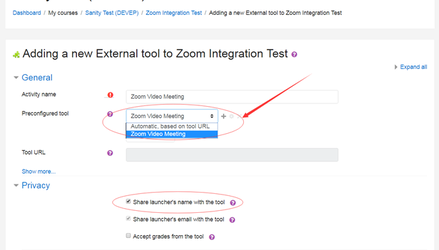
- In the privacy section, configure the following:
- Share launcher’s name with the tool: “Always”
- Share launcher’s email with the tool: “Always”
- Click Save changes.
- Once complete, Zoom’s LTI Pro will be listed as a tool.
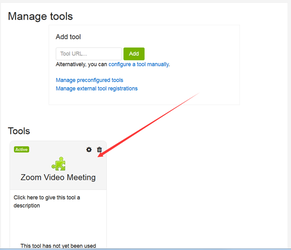
Installing LTI Pro in a Moodle Course
- Sign in as an instructor, go to the course, and turn on editing in the course.
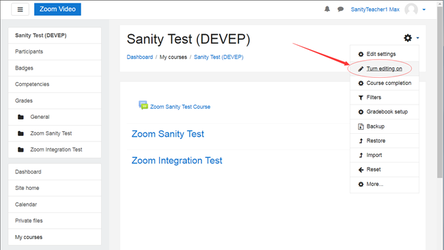
- Add an activity to the course.
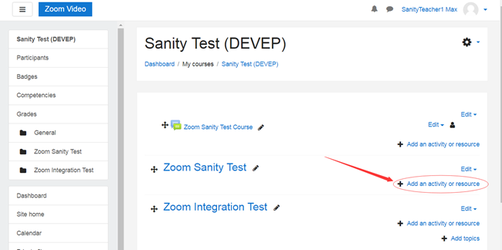
- Choose External tool.
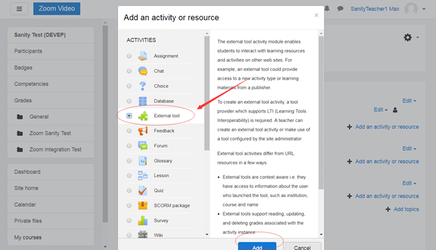
- On the adding a new External tool page, choose the existing Zoom Video Conferencing (or whatever you named the tool) and save the setting.
- Click Save and return to course.
After saving the configuration, the instructor can click the activity to launch Zoom LTI Pro.
With Zoom LTI Pro, the instructor can schedule course meetings and view their meeting list. The students will be able to view the meetings that are scheduled for the specific course.


