Configuring LTI Pro 1.1 for Brightspace
This article provides specific instructions for configuring Zoom’s LTI Pro for Brightspace by D2L.
Note: Please ensure that LTI Pro has been installed and you are signed in to configure LTI Pro.
How to configure LTI Pro on Brightspace by D2L
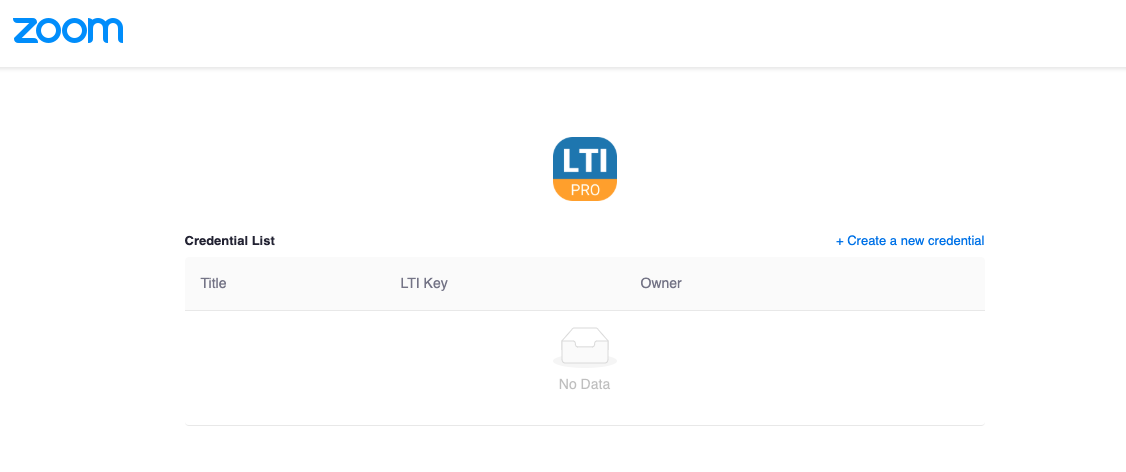
- Go to the LTI Pro application and Sign In and then click Manage and then Configure.
- Click + Create to create new credentials.
- Choose LTI 1.1 and enter the name of LTI.
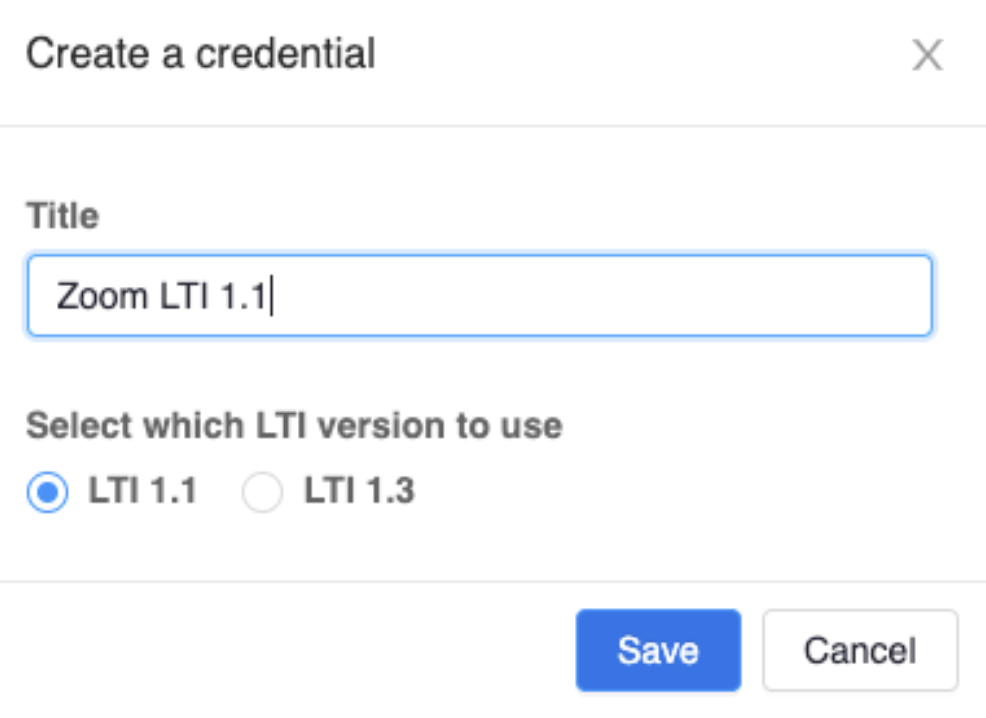
After creating a new LTI credential, you will see an LTI 1.1 credential and configuration page which will have the LTI URL, LTI Key and LTI Secret which will be needed for configuring the LTI in the LMS.
- In Brightspace by D2L, go to Admin Tools (⚙️) > External Learning Tools.
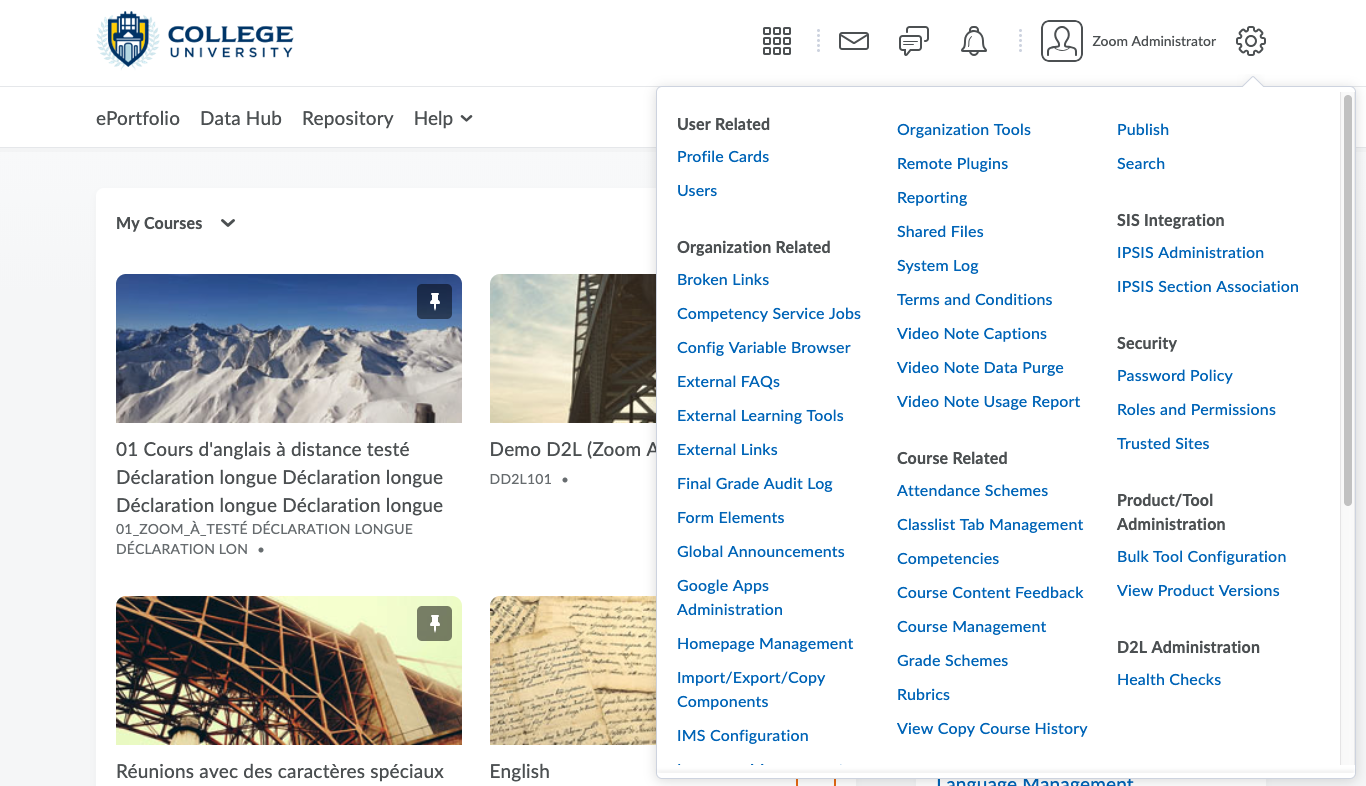
- Click New Link and configure each section under as follows:
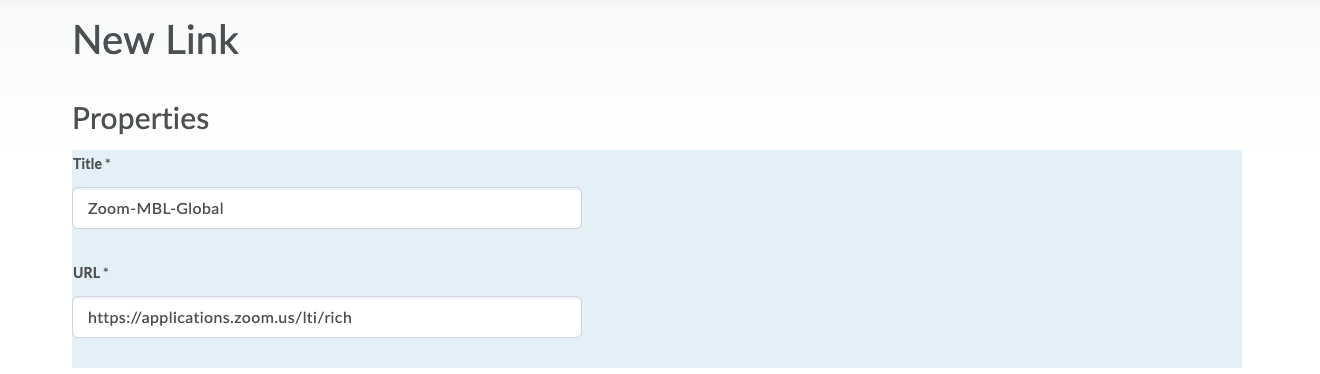
- Properties:
- Title: Enter title that you would like to use for LTI Pro (this example uses Link2Zoom)
- URL: Enter LTI URL from Step 1
- Description (Optional): Enter a description.
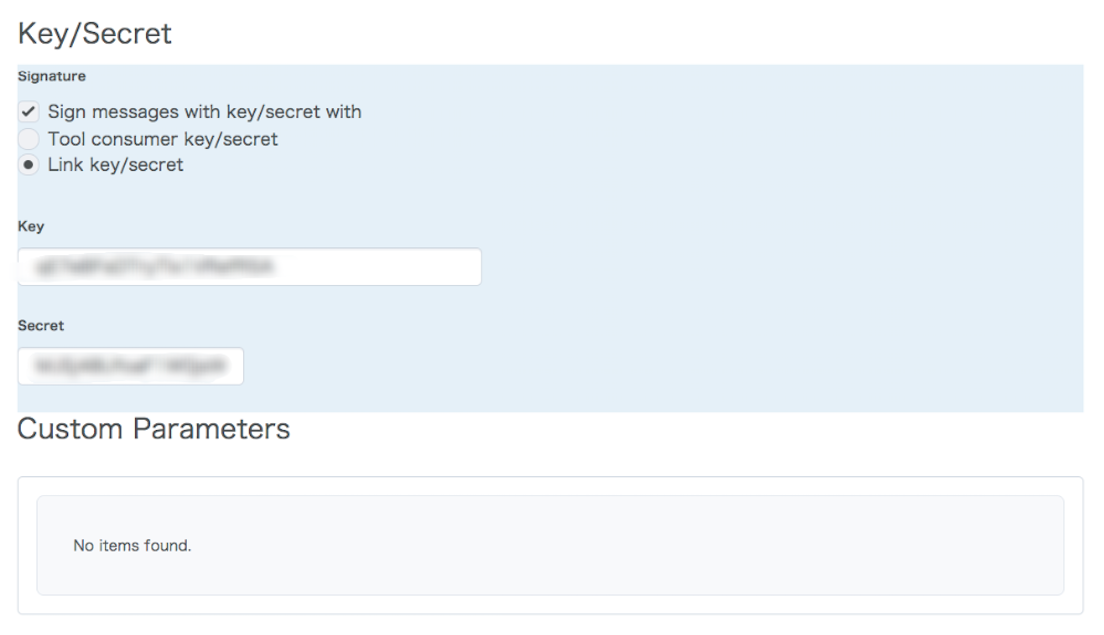
- Key/Secret and Custom Parameters
- Signature:
- Select Sign messages with key/secret with.
- Select Link key/secret.
- Key: Enter the LTI Key from Step 1.
- Secret: Enter the LTI Secret from Step 1.
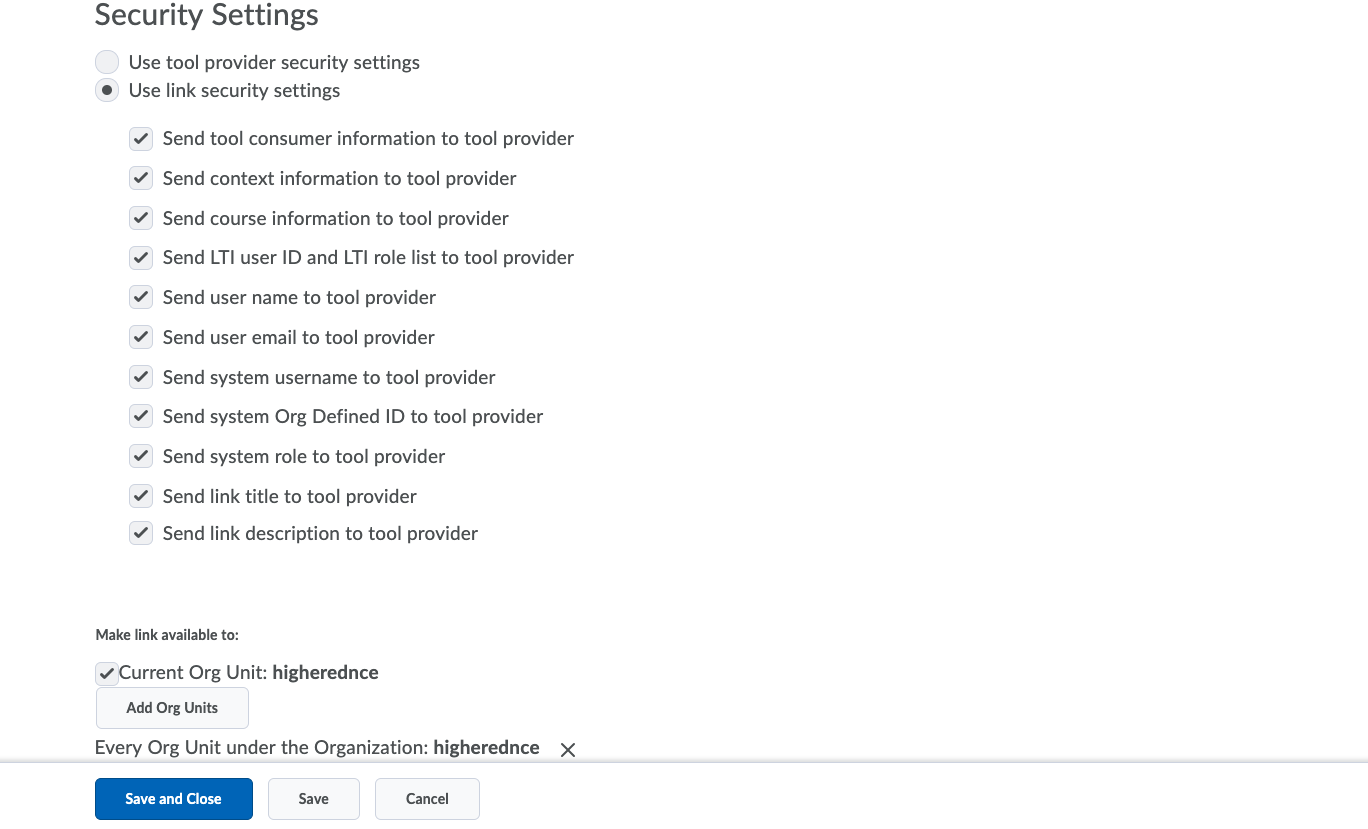
- Security Settings
- Select Use link security settings and check all options.
- Click Add Org Units.
- Add all org units that you would like to make the link available to.
- Click Save and Close.
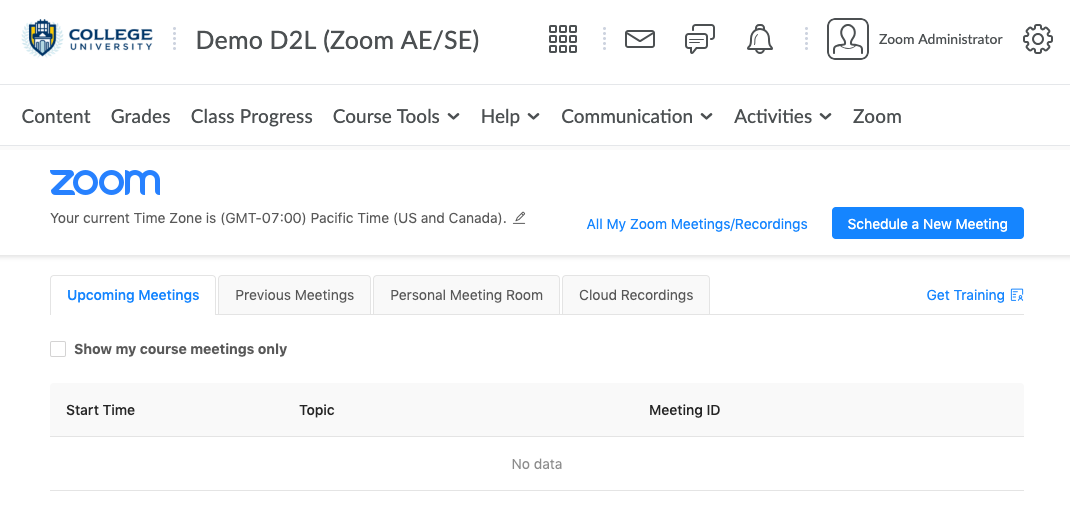
Note: The external tool Link2Zoom should now be listed under Manage External Learning Tool Links.
How to add Zoom to the Navbar for a Course
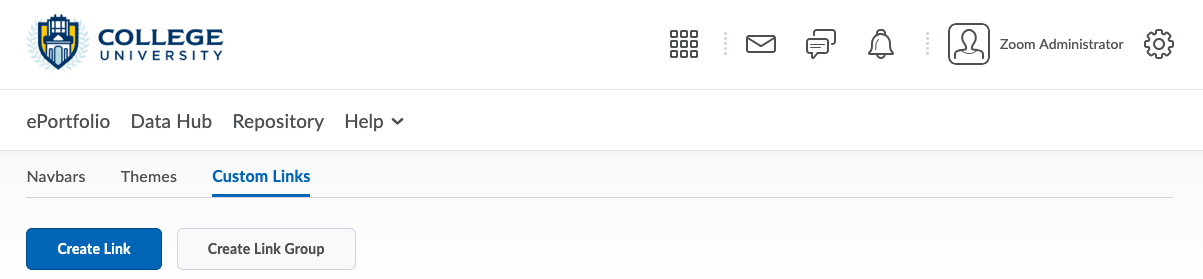
- Go to Admin Tools (⚙), and click Navigation & Themes.
- Click on Custom Links then click Create Link.
- Fill out the form as follows:
- Name: Name of the link as it will appear in the navbar.
- Click Insert Quicklink to add the tool.
- Choose External Learning Tools, then click the tool name from the previous setup in the Setup a Tool Provider section.
- Behavior: Select Same window.
- Fill in the rest of the form as desired.
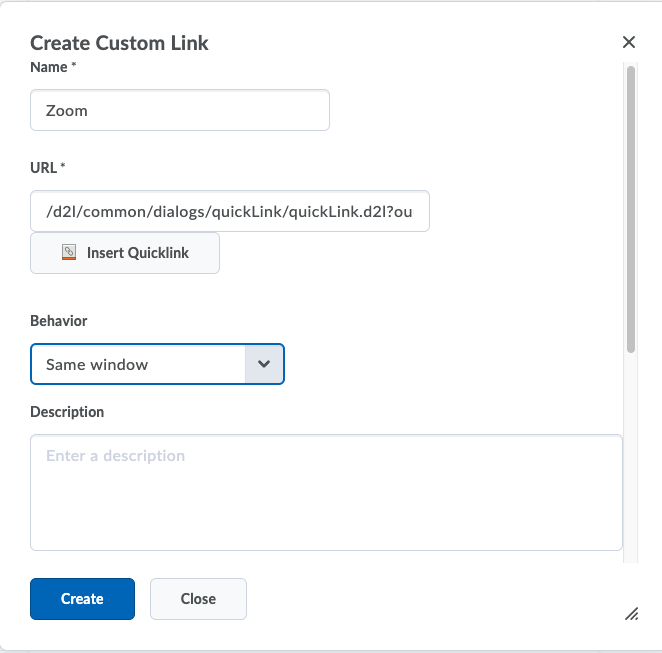
- Click Save.
Course Administrators can edit their course navbar, Add Link and look for the custom link in the list.
How to add Zoom to the Navbar for All Courses
- Go to Admin Tools (⚙), and click Navigation & Themes.
- Click on your default/custom navbar to edit.
- Click Add Links.
- Click Create Custom Link.
- Fill out the form as follows:
- Name: Name of the link as it will appear in the navbar.
- Click Insert Quicklink to add the tool.
- Choose External Learning Tools, then click the tool name from the previous setup in the Setup a Tool Provider section.
- Behavior: select Same window.
- Fill in the rest of the form as desired and click Create.
- The new custom link should be automatically selected. If it is not selected, find the custom link from the list and select.
- Click Add.
- Reorder the link in the navbar as needed.
- Click Save and Close.
After this, the link to Zoom’s LTI Pro should appear on all courses using the navbar where Zoom was added.