Legacy Zoom Meeting Connector and/or Recording Connector Products will reach End of Support July 31st, 2024.
The Recording Connector, allows on-premise meetings to be recorded to a separate server instead of the host's device. Like the meeting connector, this server is deployed within your environment.
The Zoom Recording Connector is packaged as an OVF and can be deployed onto any virtualization platform that supports OVF including:
- VMware VSphere, VMware Workstation, VMware Fusion
- Nutanix (validated on Nutanix AHV and ESXi (AOS 5.5.5))
- Windows Server 2012/2016 Hyper-V (best-effort support)
- Virtual Box (best-effort support)
System specifications for the VM can be found here.
Note: Cloud Recording Connector downloads are disabled by default for all new Zoom customers and existing customers that do not currently have the connectors deployed. Customers who want to deploy any of these functionalities must contact Zoom to request enablement. This change does not impact existing customers with instances that are already deployed. To have this feature enabled, please contact the Zoom Sales team.
This article covers:
- How to set up the Recording Connector
- How to change the Admin login password
- How to enable cloud recording for on-prem meetings
- How to access the recording files
- How to change the storage location
Prerequisites for deploying the Recording Connector
- Current Business, Enterprise or Education plan with an active Meeting Connector
- Subscription to Cloud Recording
- Enabled by the Zoom Sales team
How to set up the Recording Connector
- First, deploy and set up at least one Meeting Connector VM.
- In your Zoom profile go to Advanced, then Meeting Connector.
- Click the Download tab and then download the OVF and VMDK files under Recording VM.

- Open/Import the OVF and VMDK into your VM client.
- Once the Virtual Machine has been started, log in with the default credentials:
- Username: admin
- Password: This will be randomly generated on startup, but can set to a specific password that will not be displayed on startup.

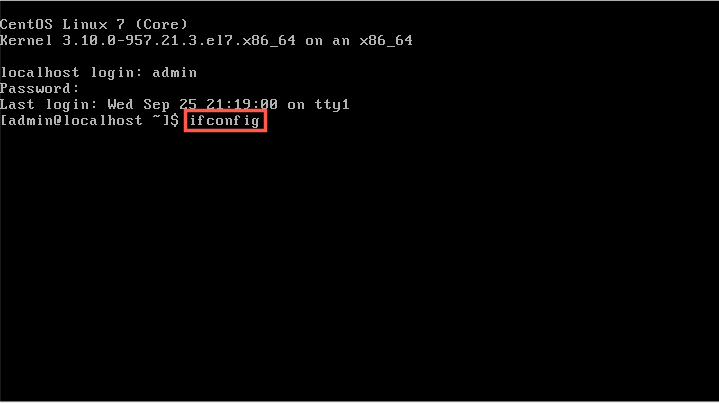
- Use the command ifconfig to check the IP address of the server. If the server does not have an IP address, configure one manually.

- In your browser, navigate to the web console at https://IPaddress:5480, with the IP address being the inet address listed in the ifconfig results.
- Login with the default credentials. During first login, change the password.

- On the Configure tab, enter the token from the Meeting Connector page of the Zoom web console. Also, enter the address of your Zone Controller.

- Click Submit.
How to change the Admin login password
- In the VM click Login.
- Login in with the admin credentials.
- Click User, then Manage.
- Click Change Password next to the admin account.

- Enter the current Admin password, then enter the new password, and re-enter it to confirm.

- Click Modify.
How to enable cloud recording for on-prem meetings
After setting up your Recording Connector VM, the on-prem cloud recording will need to be enabled for your account. To enable this:
- In your Zoom profile go to Advanced, then Meeting Connector.
- Click the Go Live tab.
- Click Enable On-Prem Cloud Recording.
How to access the recording files
Recorded meetings are saved directly to the Server's storage by default, under the following path: /opt/zoom/cmr-storage/. From there, the recordings are saved in one of the following folders:
- Archive: Recorded meetings, that have been compressed.
- Recording: Recordings that are currently converting from raw data to completed media files.
- Replay: Media files that have been processed and are ready for viewing.
When completed recordings are saved, they are saved in the following location: /opt/zoom/cmr-storage/replay/year/month/date/confID.
For example, the recording path /opt/zoom/cmr-storage/replay/2018/06/08/E8429740-9EF7-4AE0-8B98-3A32F276A03C, would translate to:
Date: 2018-06-08
Conf id: E8429740-9EF7-4AE0-8B98-3A32F276A03C
How to change the storage location
To mount another Network File System (NFS) as the recording server's storage location:
- Edit the ssb.cfg file in /opt/zoom/conf/
- Under [CMR] change the value of cmr_home:
cmr_home= recording path on mounted NFS storage - Under [MRT] change the value of mrt_home:
mrt_home= transcoding folder path on mounted NFS storage