Virtual Room Connector (VRC) is an on-premise gateway for H.323 and SIP devices. An H.323 or SIP device can make a video call to a VRC to join a Zoom Meeting.
VRC is offered as a VM installation on a private cloud. Having the VRC in your internal network allows internal SIP/H.323 device to join a Zoom meeting. While having the VRC in your external network allows external SIP/H.323 device to join a Zoom Meeting (however 1-1 NAT or Port Forwarding can be set up on your network to allow the server to stay behind your firewall but accessible externally).
The Virtual Room Connector is packaged as an OVF and can be deployed onto any virtualization platform that supports OVF including:
- VMware VSphere, VMware Workstation, VMware Fusion
- Nutanix (validated on Nutanix AHV and ESXi (AOS 5.5.5))
- Virtual Box (best-effort support)
System specifications for the VM can be found here.
Note: Virtual Room Connector downloads are disabled by default for all new Zoom customers and existing customers that do not currently have the connectors deployed. Customers who want to deploy any of these functionalities must contact Zoom to request enablement. This change does not impact existing customers with instances that are already deployed. To have this feature enabled, please contact the Zoom Sales team.
This article covers:
- Deploying Virtual Room Connector
- Dial Strings for Virtual Room Connector
- Changing the Admin login password
Prerequisites for deploying the Virtual Room Connector
- Tested H.323/SIP: Polycom, Cisco Tandberg, Lifesize, Panasonic and Aver. Please contact us for others as we may have done limited testing.
- Tested SIP: Biscotti, TelyLab, Cisco. Please contact us for others as we may have done limited testing.
- VM System Specifications
- Business, education or API plan
- Room Connector port subscription. The price for Cloud Room Connector and Virtual Room Connector ports are the same.
- Enabled by the Zoom Sales team
Note: Only Licensed users in your account can start meetings with Virtual Room Connector.
Deploying the Virtual Room Connector
- Login to your Zoom web portal and navigate to H.323/SIP Room Connector, then Virtual Room Connector.
- Under Download & Token, click Virtual Room Connector.
- Download the OVF and VMFK files.
- Open and deploy the files in your VM client.
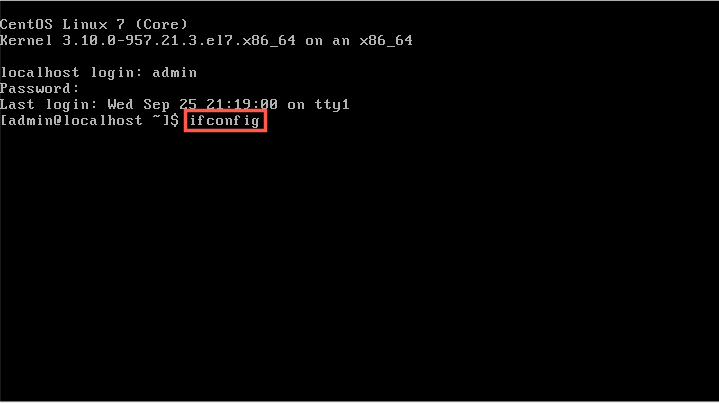
- Once the Virtual Machine has been started, log in with the default credentials:
- Username: admin
- Password: This will be randomly generated on startup, but can set to a specific password that will not be displayed on startup.
- Use the command ifconfig to check the IP address of the server. If the server does not have an IP address, configure one manually.


- In your browser, navigate to the web console at https://ipaddress:5480

- Login with the default credentials. During the first login, change the password.
- On the Configure tab:
- Enter the token from the Virtual Room Connector page of the Zoom web console.
- Select the Run Mode.
- Enter the IPv4 Address for the VRC.
- Select the maximum number of connections.
- Enter the IPv4 addresses for Controller 1 and Controller 2.
- (Optional) Under H.323 Settings, select Enable H.323 register to set up an H.323 gatekeeper.
- (Optional) Under SIP Settings, select Enable SIP register to set up SIP registrar settings.
- (Optional) Under Certificate Settings, select Replace Certificate to upload new certificate and key files.
- Click Submit.
Dial strings for the Virtual Room Connector
To connect from a H.323 device, enter:
- IP Address only, then enter meeting ID on the welcome screen, or
- IP Address##Meeting ID, for example: 192.168.3.142##213746932
- IP Address##MeetingID#password : 192.168.3.142##213746932#1122
- MeetingID@IP Address: 2139746932@192.168.3.142 [Some Cisco/Tandberg devices]
To connect from a SIP device, enter:
- IP Address only, then enter meeting ID on the welcome screen, or
- Meeting ID@IP Address, for example: 213746932@192.168.3.142
- meetingid.password@ip or meetingid:password@ip
Changing the Admin login password
- In the VM click Login.
- Login in with the admin credentials.
- Click User, then Manage.
- Click Change Password next to the admin account.

- Enter the current Admin password, then enter the new password, and re-enter it to confirm.

- Click Modify.