Legacy Zoom Meeting Connector and/or Recording Connector Products will reach End of Support July 31st, 2024.
Zoom has recently made several important security updates to its on-prem products, including adding support for the automated issuance of TLS certificates. If you have not configured a certificate by November 30, 2022, Zoom may configure a certificate on your behalf. However, even if you have a configured certificate, you may still have to configure your network/firewall as later this year Zoom clients will connect using an FQDN (*.zoomonprem.com) instead of an IP address.
Zoom offers a public or hybrid cloud service. In the hybrid cloud service, you can deploy meeting communication servers known as the Zoom Meeting Connector within your company's internal network. User and meeting metadata are managed in the public cloud while the meetings are hosted in your private cloud. All meeting traffic including video, voice, and data sharing goes through the on-premise Zoom Meeting Connector.
The Zoom Meeting Connector is packaged as an OVF and can be deployed onto any virtualization platform that supports OVF including:
- VMware VSphere, VMware Workstation, VMware Fusion
- Nutanix (validated on Nutanix AHV and ESXi (AOS 5.5.5))
- Virtual Box (best-effort support)
System specifications for the VM can be found here.
Note: The legacy Meeting Connector is only available for existing customers already utilizing the Meeting Connector before March 2023. New customers who want to deploy any of these functionalities must deploy via Zoom Node.
This article covers:
- How to deploy the Meeting Connector VM
- How to deploy a secondary MMR VM
- How to switch to Production Mode
- How to restart the Meeting Connector services
- Advanced network configuration
- How to manage the Meeting Connector
Prerequisites for deploying the Meeting Connector
- Business, Education, or Enterprise account
- Enabled by the Zoom Sales team
- Host user type set to On-Prem
- VM Client
How to deploy the Meeting Connector VM
- Logged in as an Admin, click Advanced then Meeting Connector.
- Click Enable Meeting Connector.

- Click the Download tab.
- Next to Controller VM, click and download both the OVF and VMDK.
- Open/Import the OVF and VMDK into your VM client.
- Once the Virtual Machine has been started, log in with the default credentials:
- Username: admin
- Password: This will be randomly generated on startup, but can set to a specific password that will not be displayed on startup.

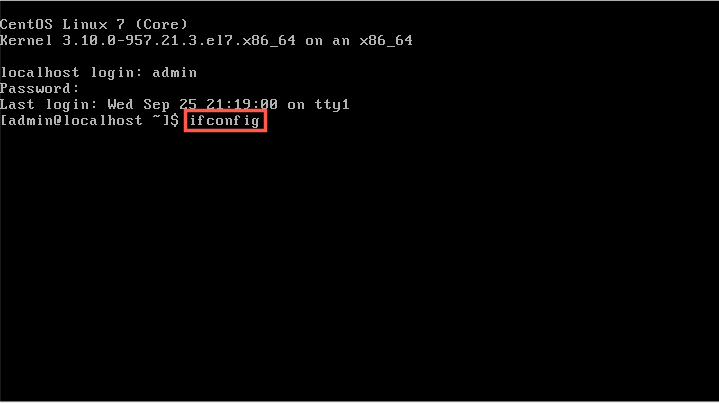
- Use the command ifconfig to check the IP address of the server. If the server does not have an IP address, configure one manually.

- In your browser, navigate to the web console at https://IPaddress:5480, with the IP address being the inet address listed in the ifconfig results.
- Login with the default credentials. During first login, change the password.

- Click Network, then click Address
- Set the network address information for Eth0 Info and Eth0:0 Info.
Note: eth0 Info can be set for DHCP, but eth0:0 Info has to be set as a separate static address provided by your networking group, as it utilizes IP aliasing. - Click Submit.
- On the Configure tab:
- Enter the token from the Meeting Connector page of the Zoom web console.
- Configure the certificates, as well as the ZC and MMR addresses for the appliance.
- (Optional) Enter another address for a Zone Controller in the Another ZC IPv4 Address field if you have already set up another meeting connector, for High Availability.
- Click Submit
- Go to Network, and check that both the zctrl and mmr processes are running.

Note: One Meeting Connector Controller OVF includes one Controller VM and an MMR VM. Each MMR supports up to 200 concurrent participants. You can always add more MMR VMs later, to increase overall capacity.
How to deploy a secondary MMR VM
- Logged in as an Admin, click Advanced then Meeting Connector.
- Click the Download tab.
- Next to MMR VM, click and download both the OVF and VMDK.
- Open/Import the OVF and VMDK into your VM client.
- Once the Virtual Machine has been started, log in with the default credentials:
- Username: admin
- Password: This will be randomly generated on startup, but can set to a specific password that will not be displayed on startup.
- Use the command ifconfig to check the IP address of the server. If the server does not have an IP address, configure one manually.
- In your browser, navigate to the web console at https://IPaddress:5480, with the IP address being the inet address listed in the ifconfig results.
- Login with the default credentials.
Note: During first login, it is recommend to change the password for the VM. - Click Network, then click Address
- Set the network address information for Eth0 Info and Eth0:0 Info.
Note: eth0 Info can be set for DHCP, but eth0:0 Info has to be set as a separate static address provided by your networking group, as it utilizes IP aliasing. - Click Submit.
- On the Configure tab:
- Enter the token from the Meeting Connector page of the Zoom web console.
- Enter ZC-1 and ZC-2 IPv4 Address/Domain.
- Configure the certificates, as well as the ZC and MMR addresses for the appliance.
- (Optional) Enter another address for a Zone Controller in the Another ZC IPv4 Address field if you have already set up another meeting connector, for High Availability.
- Click Submit
- Go to Network, and check that mmr processes are running.
How to switch to Production Mode
- Logged in as an admin, click Advanced then Meeting Connector.
- Select the Monitor tab.
- Check that your Zone Controller is showing under Running ZCs.

- Select the Go Live tab, and click Switch to Production mode.

- On-Prem users on the account will now be able to host meetings using the new meeting connector.
How to restart the Meeting Connector services
If the server needs to be rebooted for any reason, always check that all processes are running:
If processes are not running, click Stop, then start to restart the services.
Advanced network configuration
For more advanced network configurations, including firewall rules, 1 to 1 NAT, port forwarding, and DMZ configuration see:
- Network Firewall Settings for Meeting Connector
- Configure Meeting Connector Controller Port Forwarding
- Configure Meeting Connector Controller 1:1 NAT
- Configure Meeting Connector Controller in Public or DMZ
- Configure Meeting Connector for Domain Name Instead of IP Address
How to manage the Meeting Connector