Generating a dump file on Windows
A dump file can be used to diagnose issues with the Zoom client if it hangs frequently. Follow these steps if you need to generate and send a dump file for diagnosing issues with the Zoom client on Windows.
How to generate a dump file on Windows
- Right-click the Windows icon and select Task Manager.
- In the Apps section, double-click Zoom Meetings. You will see at least two entries for Zoom Meetings.
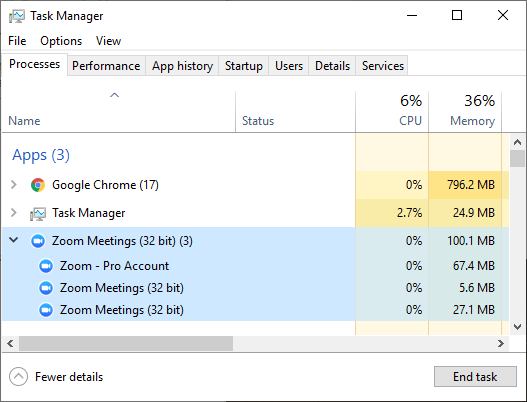
Note: The one with less memory usage is for main Zoom window and chat window. The one with more memory usage is for the in-meeting client. - Right-click one of the Zoom Meeting entries depending on what part of the Zoom client crashes frequently, then click Create dump file.
Once the dump file is generated successfully, Windows will display its file path. - Highlight the file path and press Ctrl+C to copy it to your clipboard.

- Open Windows Explorer and click the file location bar at the top.
- Press Ctrl+V to paste the file path, then press Enter.

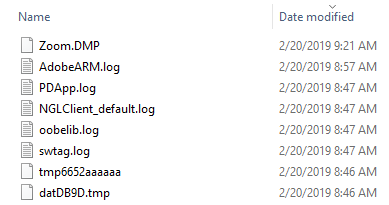
- Click the Date modified column to display new files first. The dump file (Zoom.DMP) will display at the top of the list.
Note: Compress the dump file before sending it. Select the file, right-click, click Send to, then select Compressed (zipped) folder to compress.
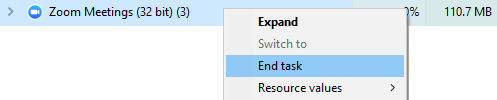
- Open the task manager again.
- Right-click Zoom Meetings and click End task.
- Restart the Zoom client so the log files generate.