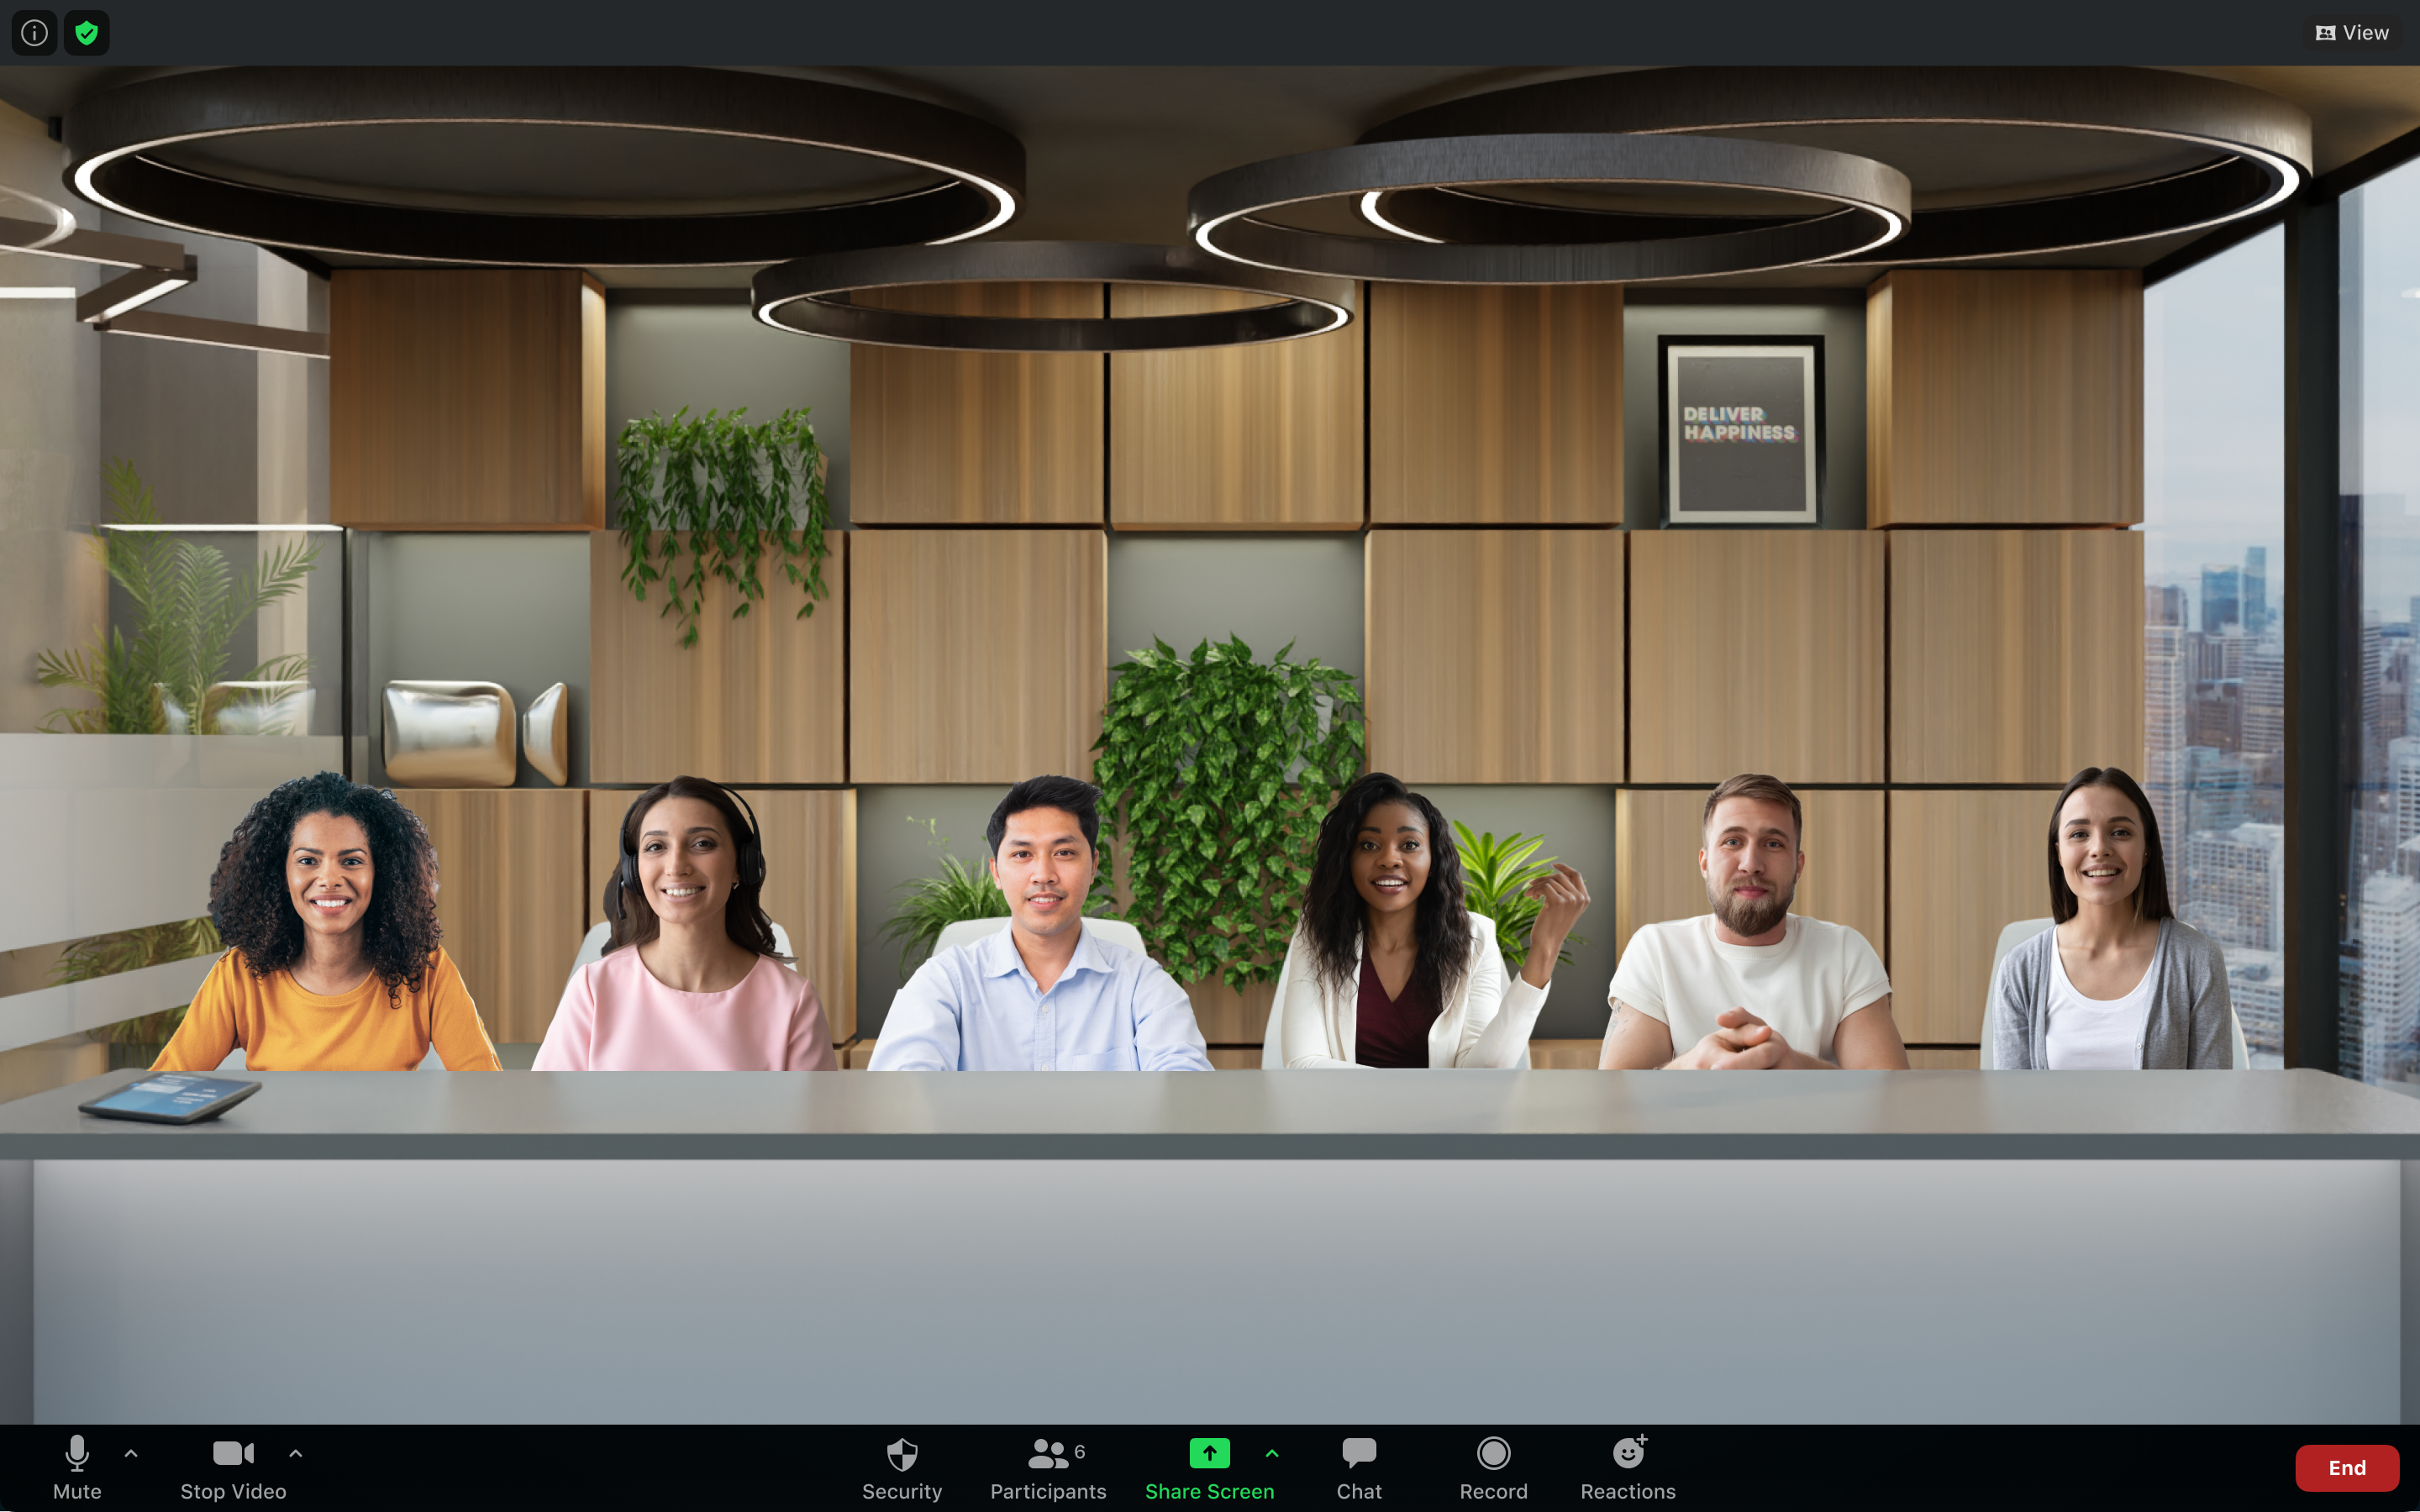
Using Immersive View in meetings and webinars
Recreate the feel of your class or conference room by placing up to 25 video participants onto a single virtual background with Immersive View. Participants are automatically placed onto provided scenes and the host can adjust the arrangements as needed. The host can also use their own custom background for a unique scene. While this does not require use of the Virtual Background feature, it does work best when everyone has this functionality. When screen sharing, the Immersive View ends and is replaced by the shared screen. When sharing stops, the Immersive View begins again with the same positions as before.
When used in a webinar, the host and panelists will be placed together onto the virtual background, while attendees view the scene.

Requirements for using immersive view
Limitations of immersive view
The Immersive View feature has the follow limitations:
- Only local recording of Immersive Views is supported. When in Immersive View, only the immersive scene will be captured, while other video thumbnails will not be recorded. Cloud Recordings just appear as Gallery or Speaker layout, depending on cloud recording settings.
- Participants using versions of the Zoom desktop client, mobile app, and Zoom Rooms that do not support Immersive View will view other participants in either Gallery View or Speaker View (whichever was used before Immersive View started), and participants are displayed with a black background. Users who are able to view the Immersive View see these attendees in the scene with their original background, virtual or not.
- Participants placed onto the scene without meeting Virtual Background system requirements are displayed with a circular frame around them, while video off participants appear as their profile picture.
- Users on the mobile app can participate in Immersive View, but the feature must be started by a user on the desktop client.
How to start immersive view in a meeting or webinar
- Start a meeting or webinar as the host.
- In the top-right corner, click View
 .
. - Click Immersive
 .
. - Select one of the following options for placing participants into the scene:
- Automatically: This will include as many participants as possible in the scene you select. Participants can be swapped out and arranged during the immersive scene.
- Manually: You will add or remove participants as you wish. If more than are allowed for a particular scene are selected, extras will be removed.
- Select the scene you would like to use. Each scene designates the max number of predefined places for attendees.
- Click Start to begin the Immersive View.
How to change the immersive view
- In the top-right corner, click View
 .
. - Click Change Immersive View
 .
. - Select the new scene and check participant assignments.
- Click Start to launch the new scene.
How to use a custom immersive view
If the standard set of scenes doesn’t suit your needs, you can also upload a custom scene. There are no predefined spaces when using a custom scene, so hosts must manually place participants. Custom backgrounds should match the resolution and file types required for virtual backgrounds images for best results.
- In the top-right corner, click View
 .
. - Click Change Immersive View
 .
. - Click
 to add a custom background.
 - In the file selection dialog, find and select the image you want to use.
- Click Open.
- Click Start to launch the new scene.
- Click and drag participant videos down onto the scene, adjusting their size as needed.
How to move and adjust participants in immersive view
When the immersive view begins, as many participants’/panelists’ videos as that scene allows by default (or fewer) will be placed in the predefined locations.
When predefined locations are filled, not every participant is selected for the scene, or attendees arrive late, extra participants are placed above the immersive scene. The host can either leave these videos above the scene, click and drag the video down to an empty location, or click and drag the video to replace someone else. Videos dropped near a predefined location will snap to that location and that scene’s size for each video.
Resize a participant's video
- Click on the video participant to see a thin, blue box outlining their video panel.

- Click and drag the participant to a location in the scene.
- Click and drag one of the corners of the box to resize their video.
How to stop immersive view
- In the top-right corner, click View
 .
. - Click another available video layout, such as Speaker
 or Gallery
  .
. - Click Stop to confirm ending Immersive View.
- (Optional) Select Don’t ask me again to prevent the confirmation window in the future.


