Using dual monitor mode to view meeting content on separate screens
The dual-monitor display feature allows the video layout and screen share content in a meeting to be placed on two separate monitors or screens. Gallery or speaker view can be displayed on one monitor while the other monitor displays shared content. This is useful for presentations and hiding notes from the participants.
Requirements for using the Zoom desktop app with dual monitors in a meeting
How to enable dual window mode for the Zoom desktop app
Using dual-monitor displays in a Zoom meeting
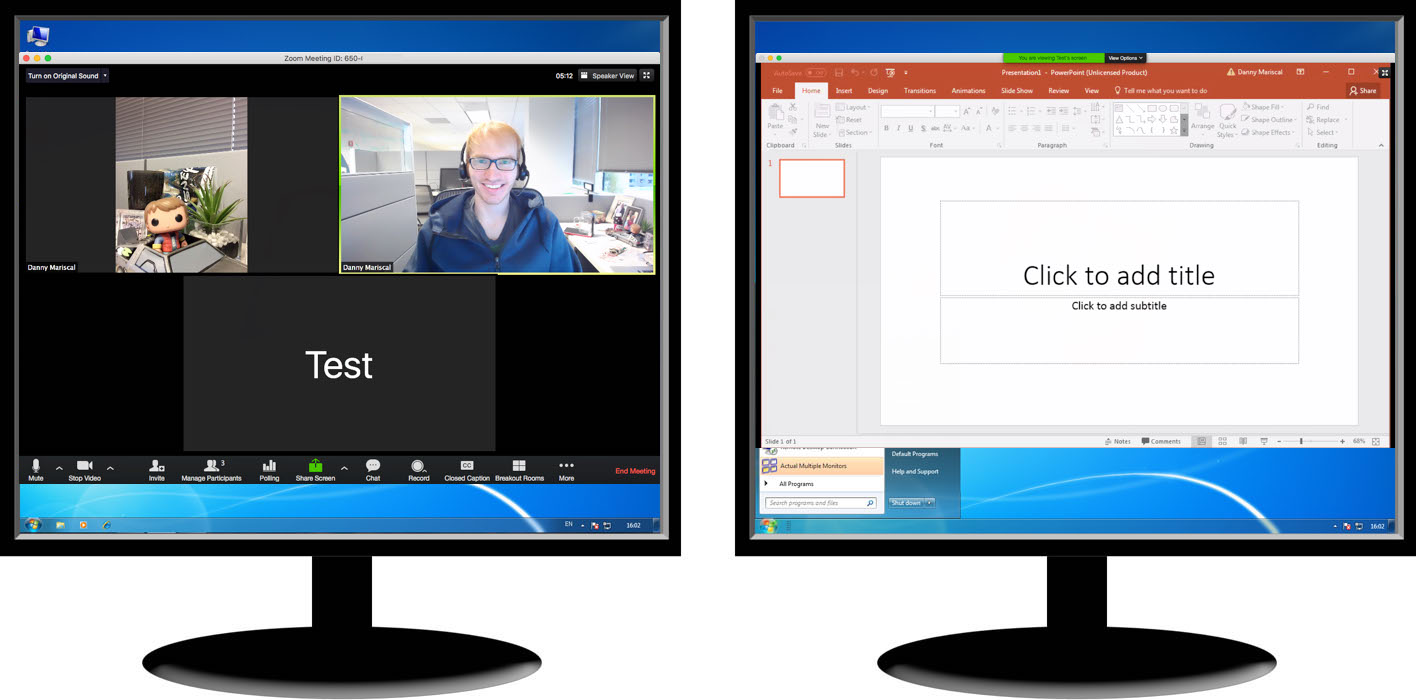
After joining or starting a meeting, you will see a Zoom window on each monitor. The meeting controls and participant's video will display on one monitor, while the other monitor will display participants' videos.
When you start sharing your screen, you can continue to view participants' videos on the other monitor: