Yealink assisted provisioning guide
If you are having issues with zero touch provisioning or your phone doesn't support it, follow the sections below to provision a supported Yealink phone.
Note: Before following this article, make sure to read the provisioning quick start guide.
Requirements for using the Yealink assisted provisioning guide
How to obtain the phone's IP address
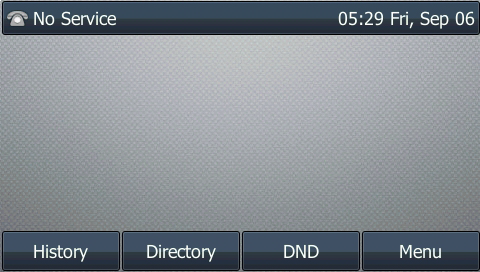
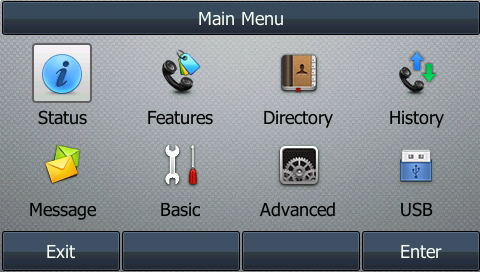
T4 series without touchscreen
- Press the Menu button.
- Use the phone's directional pad to select Status.
- Make note of the IPv4 address.
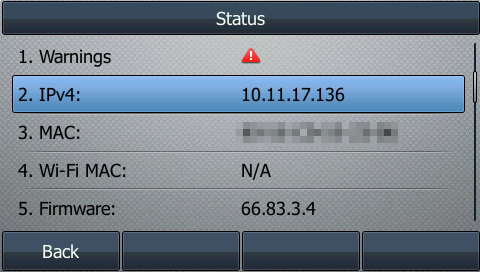
T4 series with a touchscreen
- Tap Menu on the home screen.

- T4 series with a touchscreen: Tap Status.

- Make note of the IPv4 address.
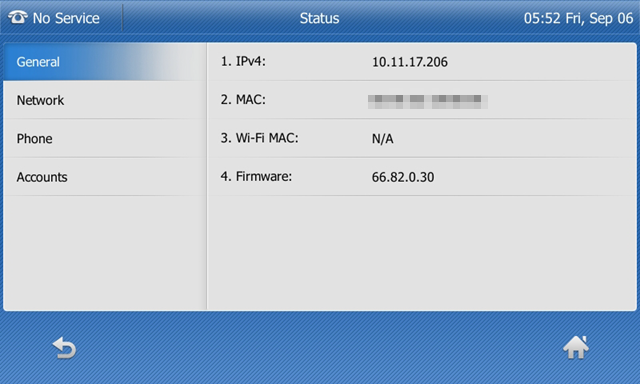
T5 series with a touchscreen
- Swipe left from the home screen.
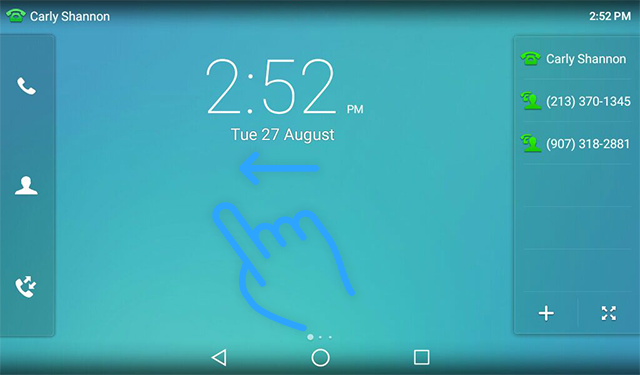
- Tap Settings.

- Tap General.
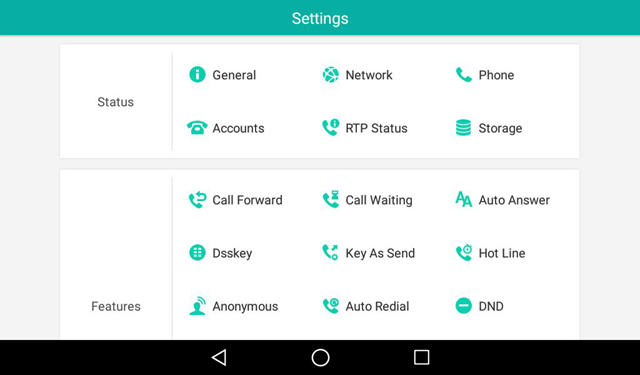
- Make note of the IPv4 address.
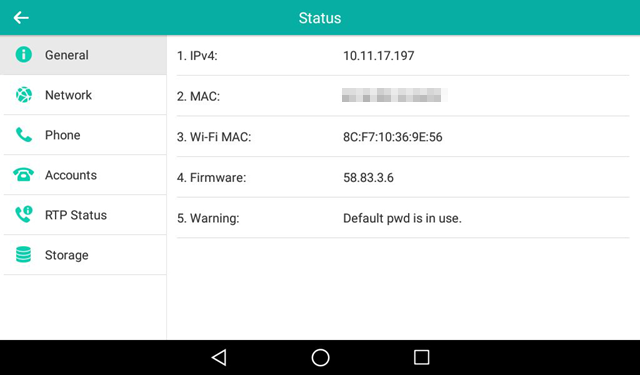
How to access the phone's web interface
- Open a web browser on a computer that's connected to the same network as the phone.
- Enter the phone's IP address.
- Log in to the phone's web interface as an admin.
Note: The default admin username and password is admin / admin. If you do not know your username or password, contact the vendor of the phone. If you set the admin password globally, you can view the password in the Zoom web portal.
How to configure the provisioning server
Note: Older Yealink devices may have a slightly different web interface that has the green header bar.
- Navigate to the Settings > Auto Provision.
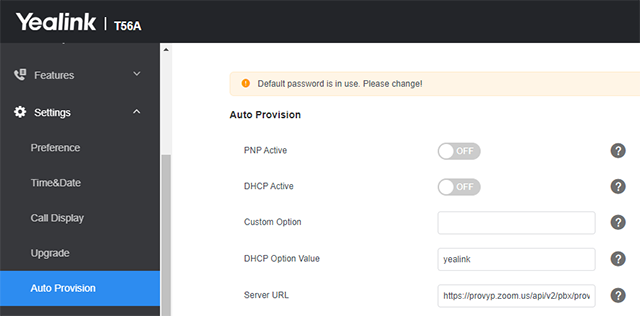

- Enter the assisted provisioning URL in the Server URL field.
- Delete any data in the User Name and Password fields.
- Click Confirm to save the configuration then click Auto Provision Now to apply the configuration to your phone. Your phone will reboot several times to complete provisioning.
Note: Make sure you don't have another provisioning server communicating with the device when you try to complete provisioning.


