Using Exchange 2013 and above with Zoom Rooms
When a calendar resource is integrated with a Zoom Room, the room’s TV display, controller, and Scheduling Display show the meetings scheduled for the room. Members of your organization can schedule a meeting in a Zoom Room by inviting the room to the meeting. Conference rooms are assigned as a calendar resource through a calendar service. Authorizing Zoom to have access to calendar resources enables users to start and join meetings in the room using one touch.
Before you can add a calendar service for Zoom Rooms, an Exchange administrator must do the following:
- Create a dedicated user in Exchange who can manage calendars
- Create or locate a calendar resource to be used for each Zoom Room
- Enable the dedicated user to have full delegate access to each calendar resource
- Enable the dedicated user to edit each calendar resource
- Update the settings for each calendar resource using Windows Powershell
After the Exchange administrator completes these steps, you use the credentials of the dedicated user to provide authorization for the Zoom Rooms in your account to use the calendar service and all of its calendar resources.
Requirements for using Exchange 2013 and above with Zoom Rooms
- Exchange 2013, 2016, or 2019
- An admin account for Exchange
- Access to your Exchange Admin Center (EAC)
- The ability to create and manage calendars for rooms
- The ability to create a new Exchange user
Note: Your network, including firewalls and proxies, must allow traffic to outlook.office365.com.
How to create a service account and room email
Creating a Zoom Rooms service account
- Sign in to your Exchange Admin Center as an admin.
- Click Mailboxes under Recipients Click +.
- Click User mailbox.
- Create an email address, for example, room@company.com.
- This same user email will be used by all of your Zoom Rooms.
- Make a note of the User login name and password.
- Create the same work email and add it under your account in the Zoom Room's Calendar section.
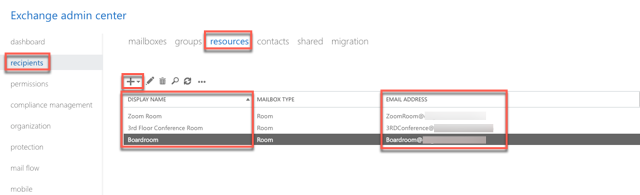
Creating or obtaining the room and room email
- Sign in to your Exchange Admin Center as an admin.
- Click Resources, then Recipients.
- (Optional) Click on the plus + icon if you need to add a room.
- Make a note of the display names of your rooms and corresponding email addresses.
How to link the service account with room resources
Delegating access to the service account
- Sign in to your Exchange Admin Center as an admin.
- Click Resources, then Recipients.
- Double click the first room.
- Click mailbox delegation.
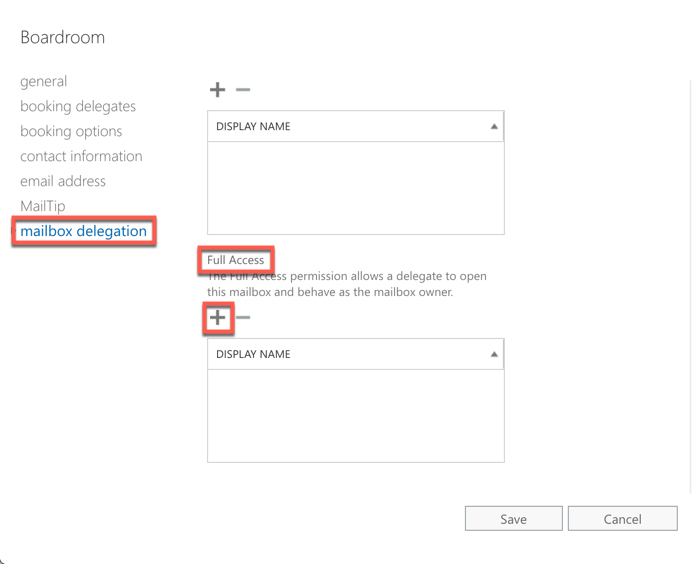
- Scroll down to Full Access and click +.
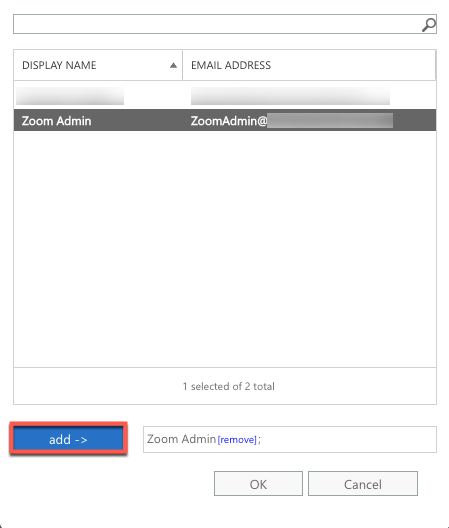
- Select the dedicated email and click add->.
Sharing the resource with the service account
- Sign in to Outlook web with your Exchange admin account.
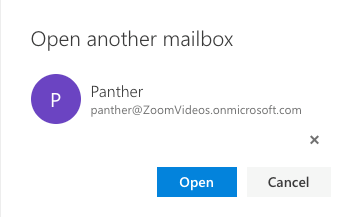
Note: If Outlook Web has not been enabled for your Exchange server, the calendar can be shared through the Outlook application. - Under My account, click Open another mailbox.
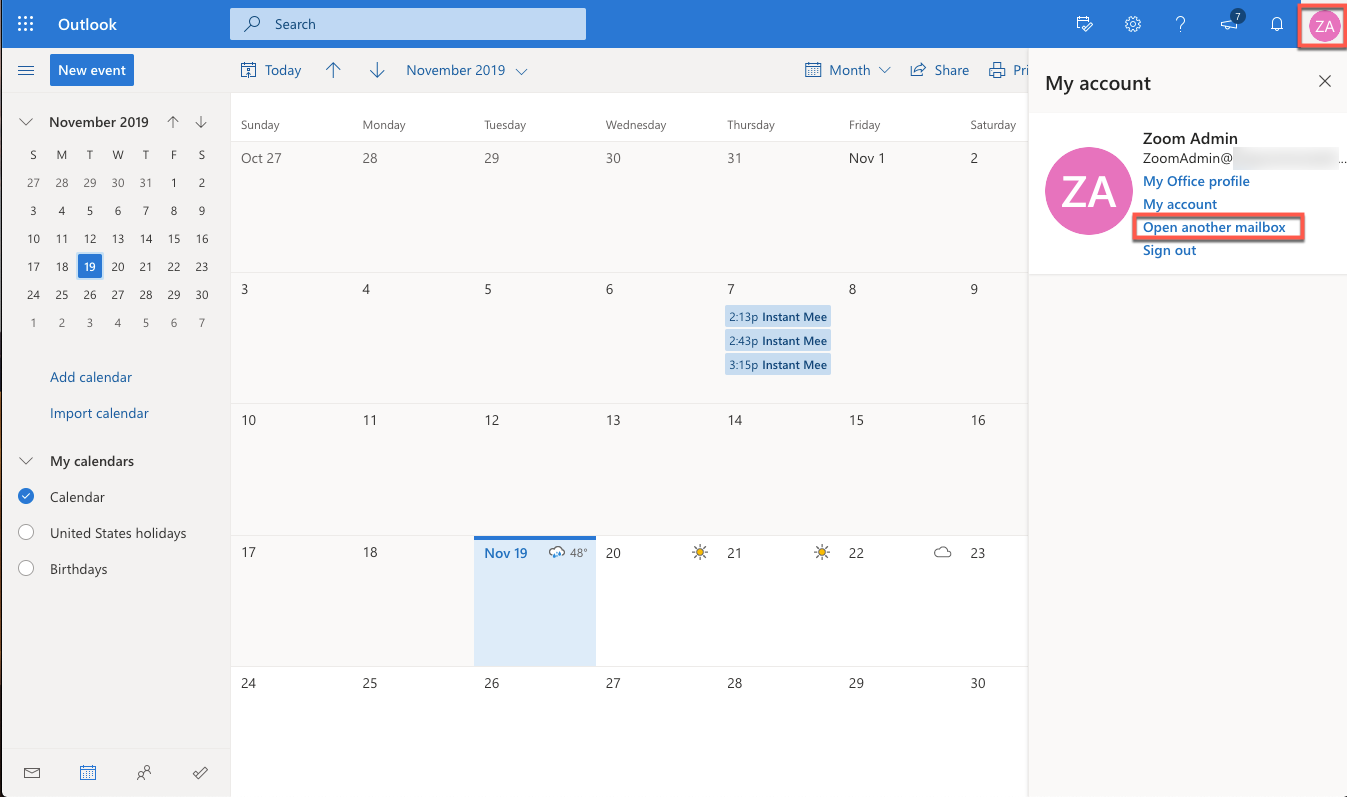
- Enter the room resource's email address, and select the room.
- Click Open, to open the mailbox for the room resource.
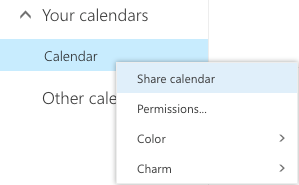
- This will open the Zoom Room resource mailbox. Click on the calendar in the bottom left-hand corner of your navigation.
- Right-click the room's main calendar under Your Calendars and then click Share calendar.
- In the next window, enter the service account's Work Email, and select Editor access.
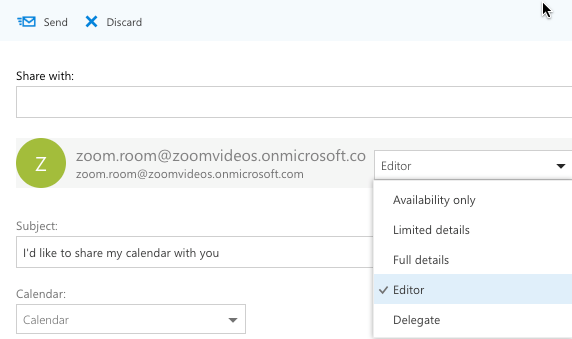
- Click Send.
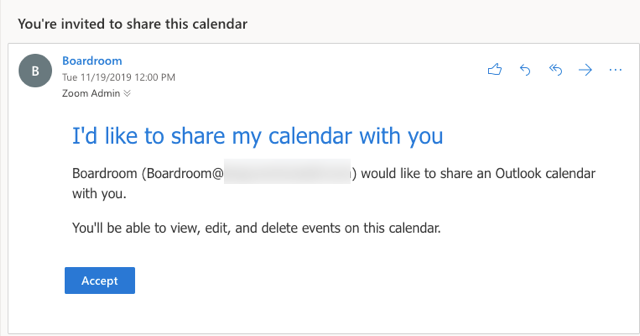
- Sign in to the service account's mailbox.
- Click on the invitation from the Zoom Room resource and click Accept.
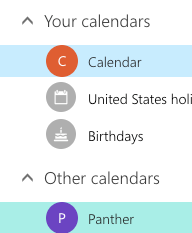
- Accepting the invite will open the calendar tab. You should see the Zoom Room resource calendar listed on the left side of the page under Other Calendars. Ensure this calendar is accounted for.
How to enable Basic Authentication or NTLM Authentication
Zoom Rooms supports Basic and NTLM forms of authentication for on-premise solutions such as Exchange server. Please use one of the following to enable either of which applies to your account.
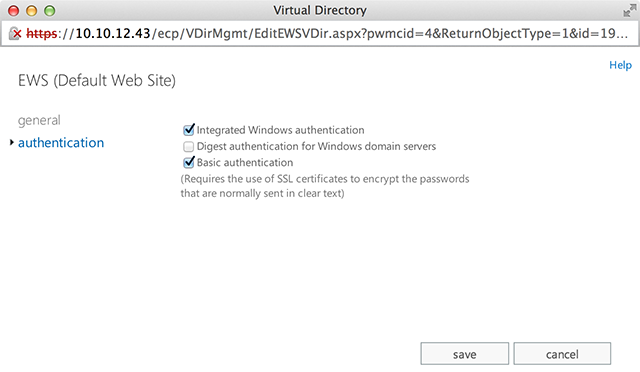
Basic Authentication
- In EWC click on Authentication.
- Check the basic authentication check box and click Save.
NTLM Authentication
- Open the Exchange Management Shell on an Exchange 2013 server.
- To enable Kerberos authentication for Outlook Anywhere clients, run the following command on your Client Access server:
Get-OutlookAnywhere -server CAS-1 | Set-OutlookAnywhere -InternalClientAuthenticationMethod Negotiate
- To enable Kerberos authentication for MAPI over HTTP clients, run the following command from your Exchange 2013 Client Access server:
Get-MapiVirtualDirectory -Server CAS-1 | Set-MapiVirtualDirectory -IISAuthenticationMethods Ntlm, Negotiate
How to configure resource attributes
Retrieving EWS URL
- In the Exchange Admin Center, click servers.
- Click Virtual Directories, then double-click EWS.
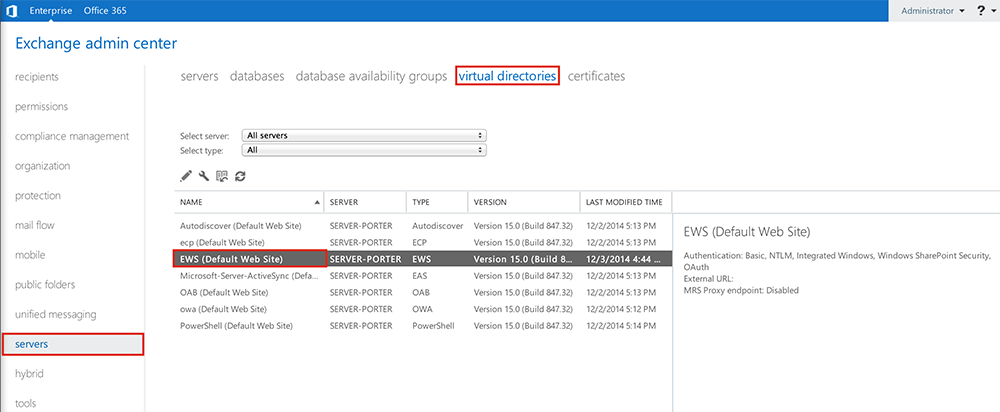
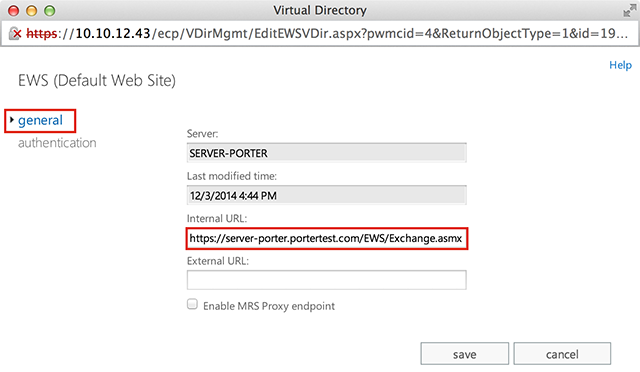
- Click General, and locate the EWS URL.
Disable Removal of Subject from Room Events
- Start Windows PowerShell using the Run as administrator option.
- Enter the following command to input your Exchange admin username and password.
$UserCredential = Get-Credential
- Prepare the session (use EWS URL from the previous section).
$Session = New-PSSession -ConfigurationName Microsoft.Exchange -ConnectionUri http://server-porter.portertest.com/powershell -Authentication Kerberos -Credential $UserCredential
- Connect the PowerShell session.
Import-PSSession $Session
- You can check the settings for room before and after changing with following command:
Get-CalendarProcessing -Identity "49ers" | Format-List identity,deletesubject,addorganizertosubject,DeleteComments,RemovePrivateProperty
- Verify DeleteSubject, AddOrganizerToSubject, DeleteComments and RemovePrivateProperty are set to false.
Identity              : portertest.com/Users/room_name
DeleteSubject         : False
AddOrganizerToSubject : False
DeleteComments        : False
RemovePrivateProperty : False
Note: If you see an error such: as “Import-PSSession : Files cannot be loaded because running scripts is disabled on this system. Provide a valid certificate with which to sign the files.”, please use the following command first (this command will fail if you didn't run PowerShell as an administrator in step 1):
Set-ExecutionPolicy Unrestricted
- Modify the attributes for your room's calendar:
Set-CalendarProcessing "room_name" -AddOrganizerToSubject $false -OrganizerInfo $true -DeleteAttachments $true -DeleteComments $false -DeleteSubject $false -RemovePrivateProperty $false
Note: If you see errors such as
- “The operation couldn't be performed because object [room name] couldn't be found on [exchange server].”, this means the scope of the cmdlet does not include the user/room.
- If you see an error such as “Set-CalendarProcessing command not found”, please make sure the user you are logged in with via PowerShell has permissions in Organization Management and Recipient Management.
- Disconnect session, and then close PowerShell.
Remove-PSSession $Session
How to add the calendar service to Zoom
To add the Exchange calendar service to your Zoom account:
- Sign in to the Zoom web portal as a Zoom Rooms administrator.
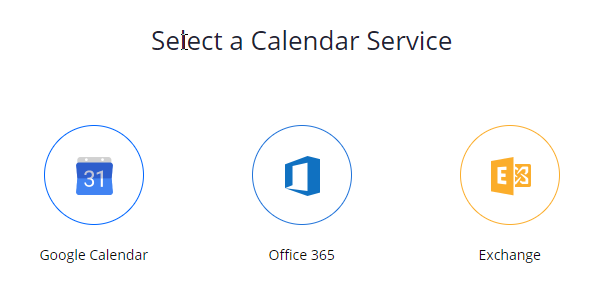
- Choose Calendar Integration, and then click Add Calendar Service.
The Add a Calendar Service dialog displays. - Click Exchange.
- Enter the Exchange details:
- Exchange login username or UPN: Enter your exchange credentials as user logon domain\user logon name, as set in Active Directory. For exchange, if your email address is johnsmith@mycompany.com, you can enter it as mycompany\johnsmith.
- Exchange login password: Enter your Exchange password.
- Exchange Version: Select your Exchange version from the dropdown.
- EWS URL: Enter the URL for the EWS Server. Be sure to include the entire URL, including the https:// portion.
Note: If you do not make the Exchange server EWS URL public-internet accessible, then the Zoom calendar service will display an error. Since Zoom Rooms access the calendar directly, however, the configuration will still work as long as Zoom Rooms can successfully access the EWS URL. - Account Permission Type: Choose Full Access Delegate if you've followed the configuration above.
- Click Authorize.
The Calendar Integration page shows the calendar service that you added.
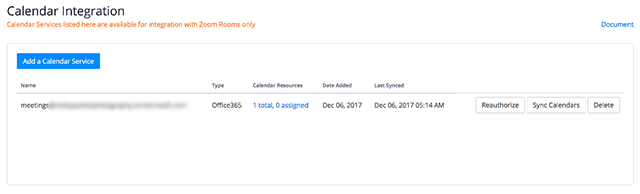
See Add a Zoom Room for information on configuring a calendar resource with a Zoom Room.