Configuring LTI Pro 1.1 for Blackboard
This article provides specific instructions for configuring Zoom’s LTI Pro 1.1 with Blackboard.
Note: Please ensure that LTI Pro has been installed and you are signed in to configure LTI Pro.
Configuring LTI Pro on Blackboard
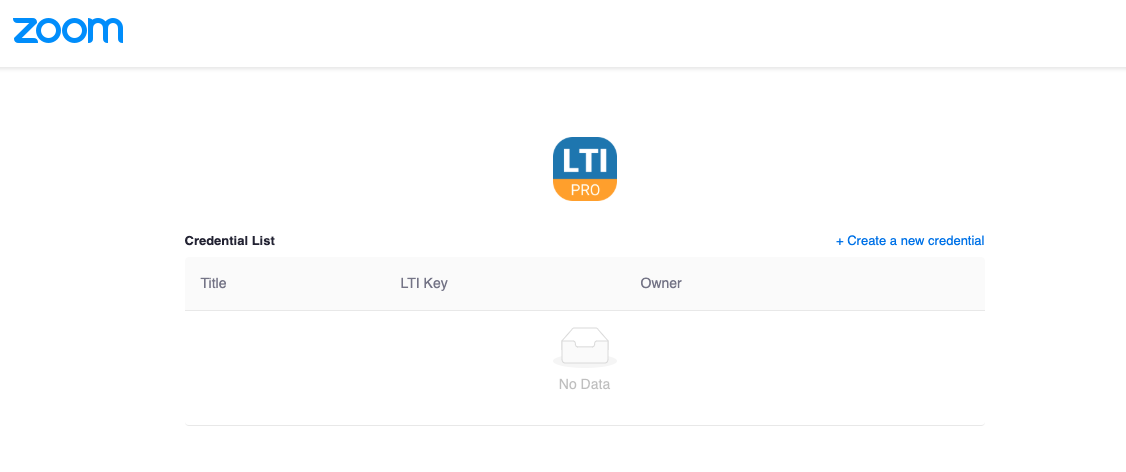
- Go to the LTI Pro application and Sign In and then click Manage and then click Configure
- Click + Create to create new credentials.
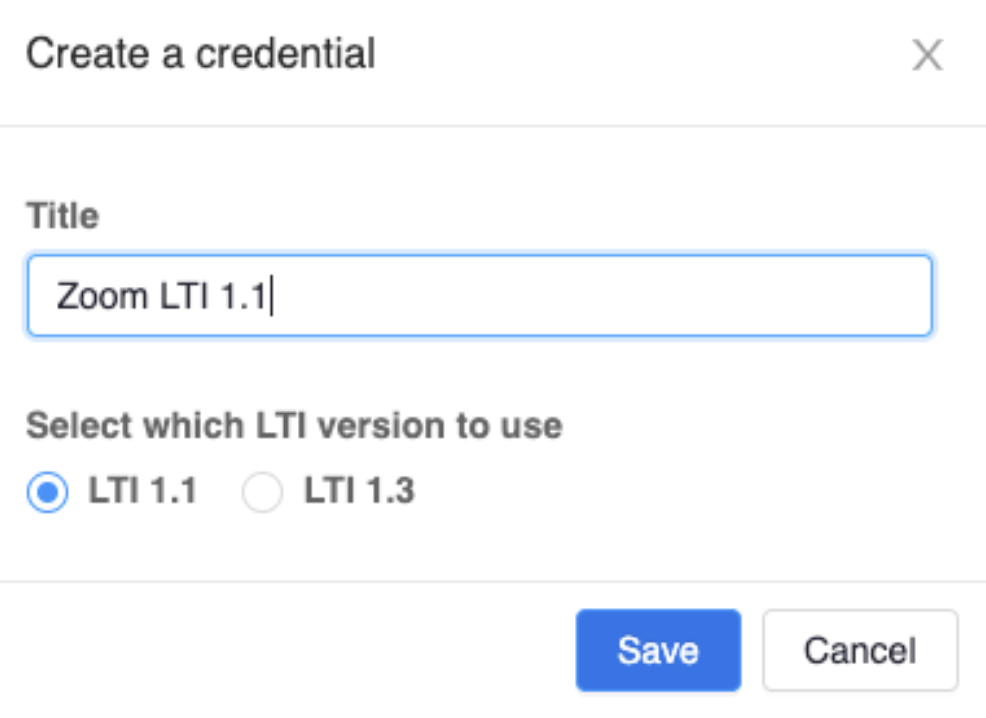
- Choose LTI 1.1 and enter the name of LTI.
After creating a new LTI credential, you will see an LTI 1.1 credential and configuration page which will have the LTI URL, LTI Key and LTI Secret which will be needed for configuring the LTI in the LMS.
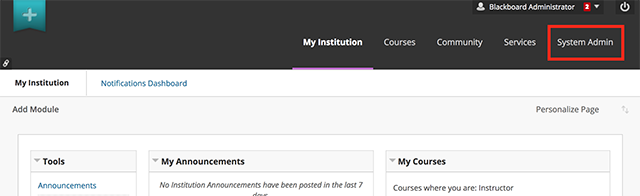
- Login to Blackboard as an admin.
- Click System Admin.
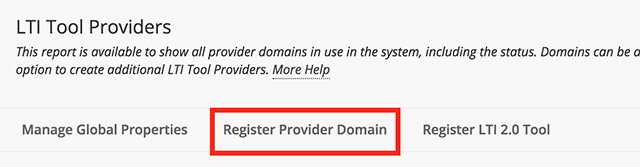
- In the Integrations section, click LTI Tool Providers.
- Click Register Provider Domain.
- Enter the following information:
- Provider Domain: Enter applications.zoom.us
- Provider Domain Status: Select Approved
- Default Configuration: Select Set globally
- Tool Provider Key: Paste the LTI Key copied from Step 1 above
- Tool Provider Secret: Paste the LTI Secret copied Step 1 above
- Send User Data: Select Send user data over any connection
- User Fields to Send: Check Role in Course, Name, & Email Address
- Click Submit.
- Navigate to the LTI Tool Providers page.
- Hover over applications.zoom.us, click on the arrow, and click Manage Placements.
- Click Create Placement.
- Enter the following information:
- Label: Zoom Meeting or your choice of another descriptive label
- Handle: Zoom
- Availability: Select Yes (to make placement available to course builders & instuctors)
- Type: Select Course tool: Select Student (to allow Student to access LTI Pro)
- Tool Provider URL: Paste copied LTI URL from Step 1 above
- Tool Provider Key and Secret should populate from the initial setup.
- Click Submit.
Installing LTI Pro in a course
- Open the course where you would like to add Zoom.
- Hover over + and choose Tool Link.
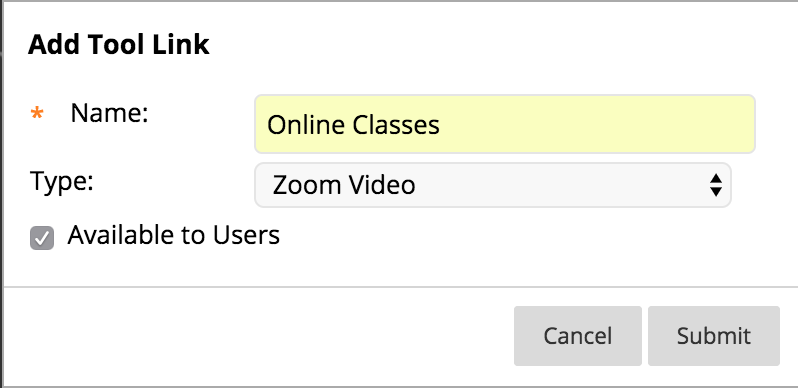
- Complete the Tool Link options.
- Name: Enter the title you would like displayed for the Zoom link in your course navigation.
- Type: Select the option that matches the label you designed during the initial setup, eg. Zoom Meeting.
- Available to users: Check this option so that students can see the link to the Zoom meetings as well.