Using pre-init and post-engagement flows in Zoom Virtual Agent

Zoom Virtual Agent (ZVA) provides two configurable automation features that help enhance customer interactions at key points in the engagement lifecycle:

These flows allow admins to automate preparatory and follow-up tasks to enable consistent customer experiences across chat and voice channels.

Requirements for using pre-init and post-engagement flows in Zoom Virtual Agent

Note: Ensure that any external systems used in your flows (for example, CRM or ticketing tools) are properly authenticated, accessible from ZVA, and tested for latency and reliability before going live.

Table of Contents

How pre-init flow works

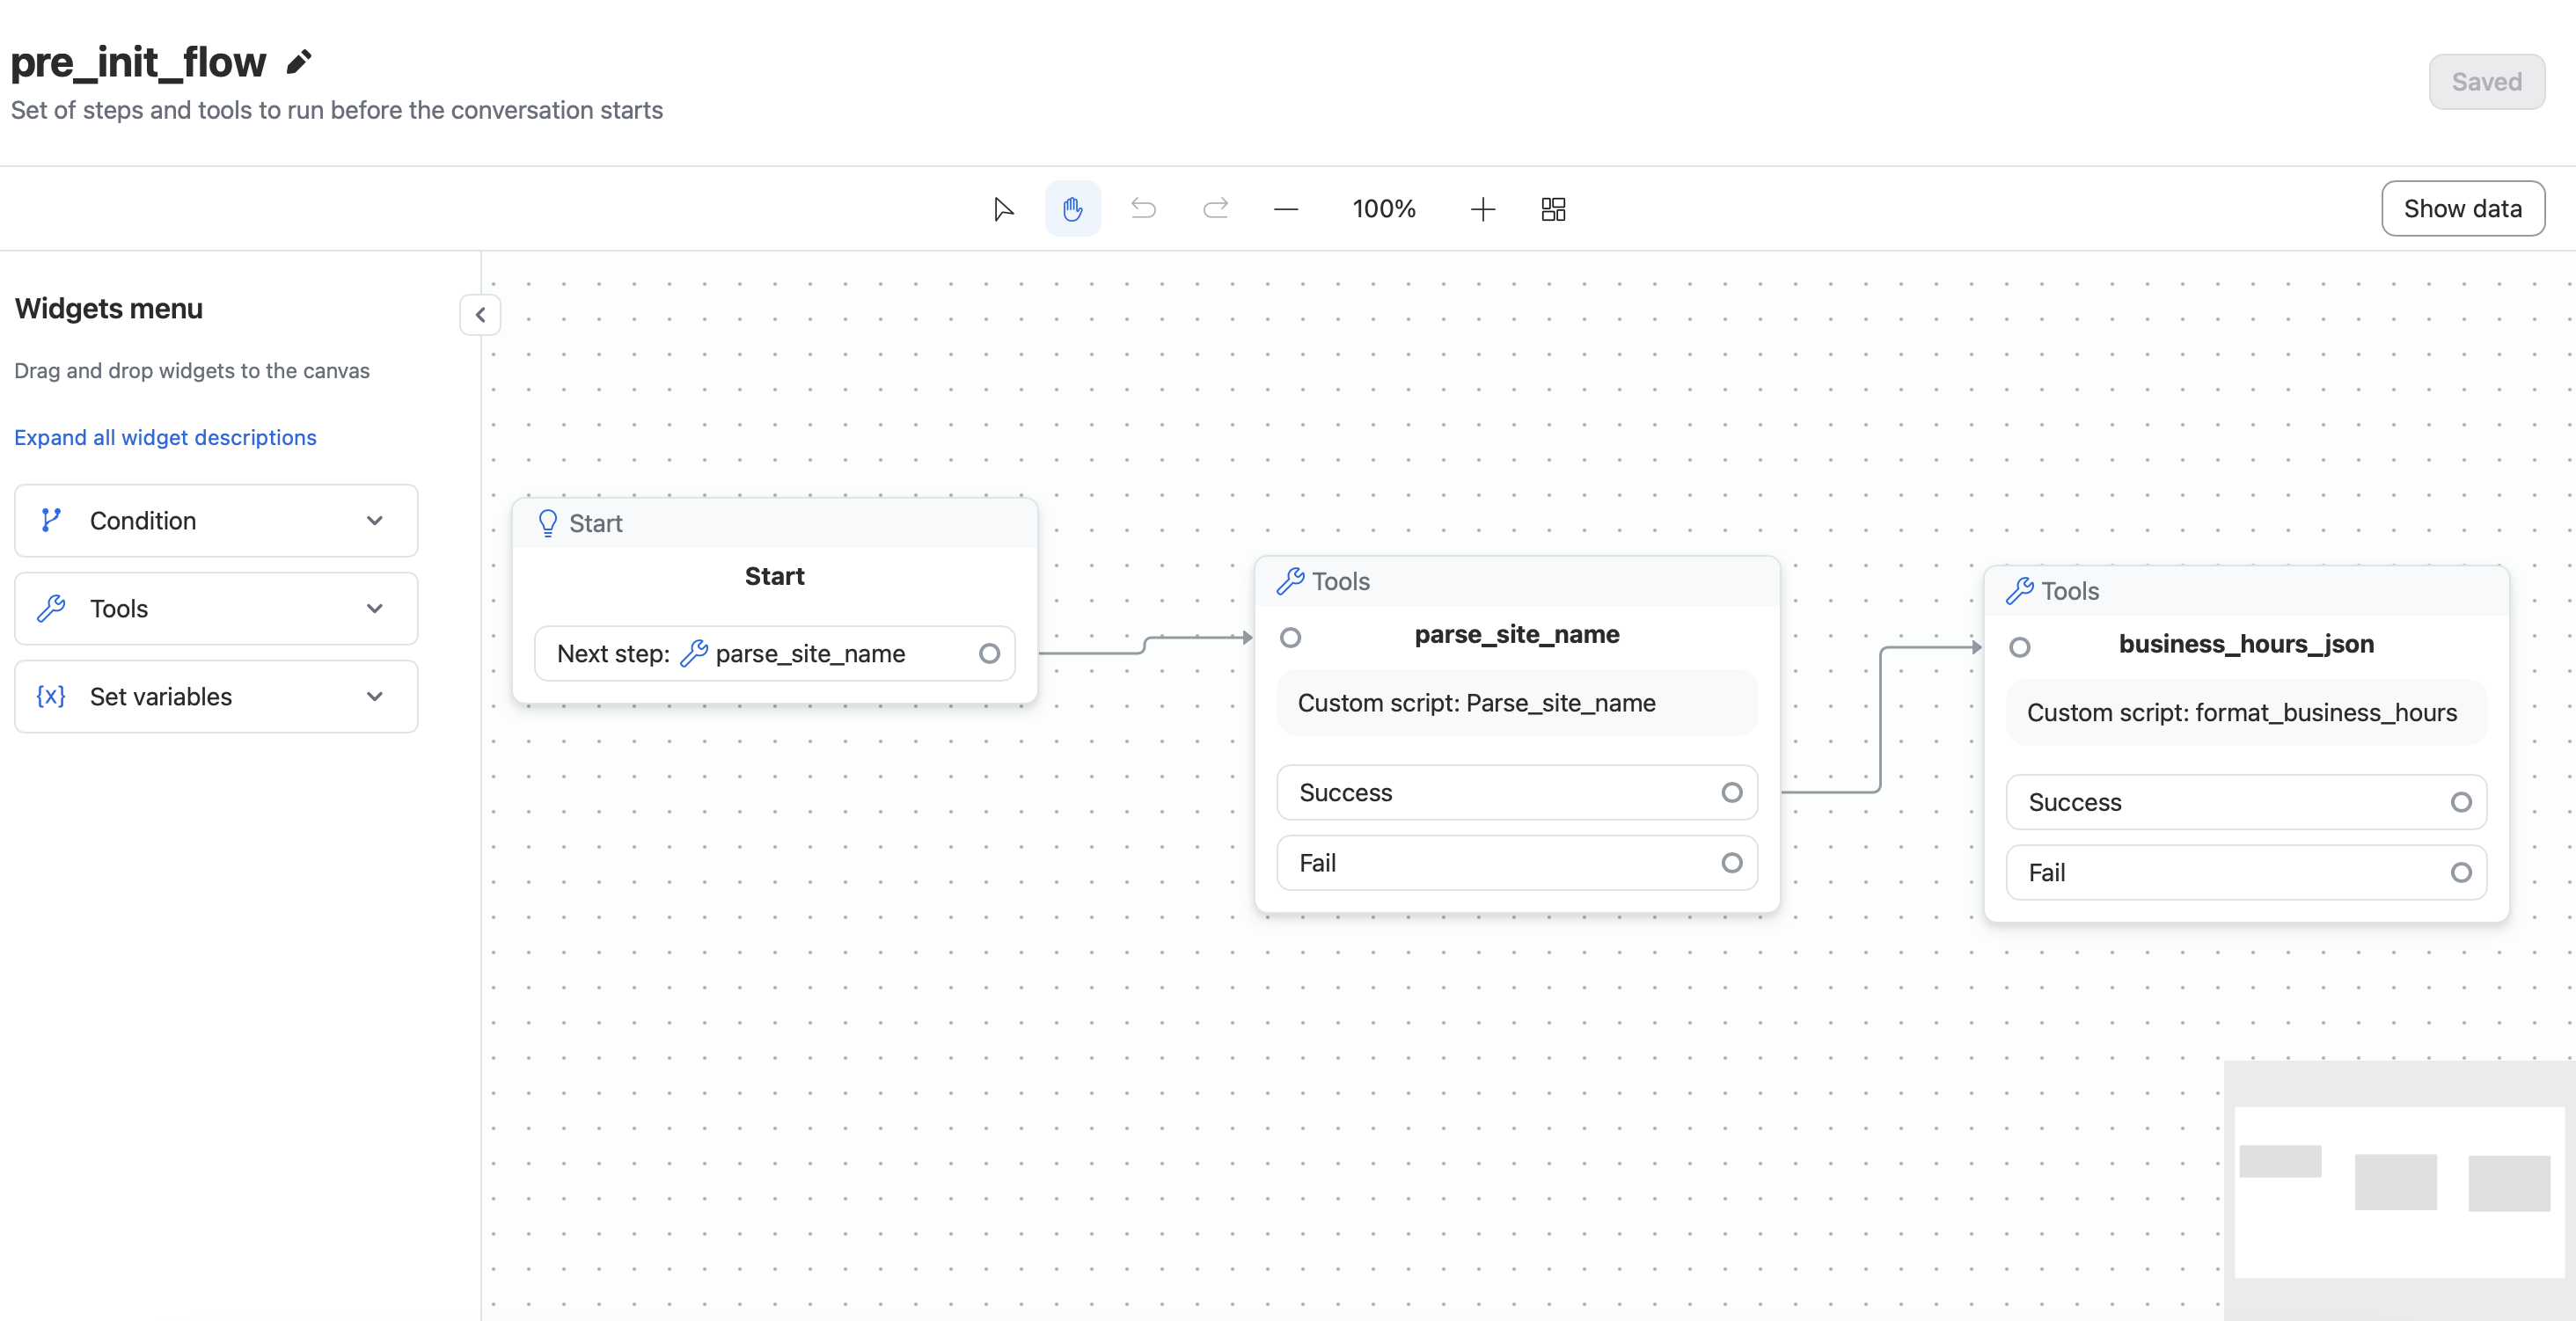
The pre-init flow enables ZVA to perform preparatory actions before an engagement starts. This helps reduce latency and ensure that personalized data is ready when the customer interaction begins.
lightbulb tip icon
Keep scripts and tool calls lightweight. The pre-init flow is designed for quick lookups and setup tasks. For optimal performance, avoid long-running or complex tool calls in pre-init flows as these can delay the start of the customer interaction.

How to set up the pre-init flow

  1. Sign in to the Zoom web portal as an admin.
  2. In the top-right corner, click your profile picture or initials, then click Admin Center.
  3. In the side menu, click Product configuration then AI Studio.
  4. Click Virtual Agents.
  5. Select the voice agent or chat agent you want to configure.
  6. In the upper right, click the Settings icon , then expand Agent behavior.
  7. Click the Pre-conversation action toggle.
  8. Click Add action to open the flow canvas.
  9. Configure the desired steps, then click Save.

Supported actions for pre-init flows

The pre-init flow runs before the engagement begin, so it is ideal for data retrieval and personalization tasks. The following are some tasks you can automate using this feature:

Example

How post-engagement flow works

The post-engagement flow automates actions that occur after a chat or voice engagement ends. It helps ensure that follow-up tasks, analytics, and updates are handled consistently without manual intervention.

How to set up the post-engagement flow

  1. Sign in to the Zoom web portal as an admin.
  2. In the top-right corner, click your profile picture or initials, then click Admin Center.
  3. In the side menu, click Product configuration then AI Studio.
  4. Click Virtual Agents.
  5. Select the voice agent or chat agent you want to configure.
  6. In the upper right, click the Settings icon , then expand Agent behavior.
  7. Click the Post-engagement action toggle.
  8. Click Add action to open the flow canvas.
  9. Configure the desired steps, then click Save.

Supported actions for post-engagement flows

Post-engagement flow supports a wide range of automated actions, from data logging to customer follow-ups. The following are some tasks you can automate using this feature:
note icon
This article applies to Zoom Virtual Agent voice and chat agent. If you are using other Zoom Virtual Agent types, such as or classic chatbot, refer to their respective documentation for setup and channel deployment instructions.