Enabling and customizing the waiting room
The waiting room feature allows the host to control when a participant joins the meeting. As the meeting host, you can admit participants one by one, or hold all participants in the waiting room and admit them all at once. You can send all participants to the waiting room when joining your meeting, or you can allow participants from your Zoom account, participants with specified domains, or meeting invitees to bypass the waiting room. As the host, you can also choose to automatically move participants to the waiting room while a meeting is in progress if you lose connection from the meeting.
Once you've enabled and customized your waiting room, learn more about how to manage the waiting room.
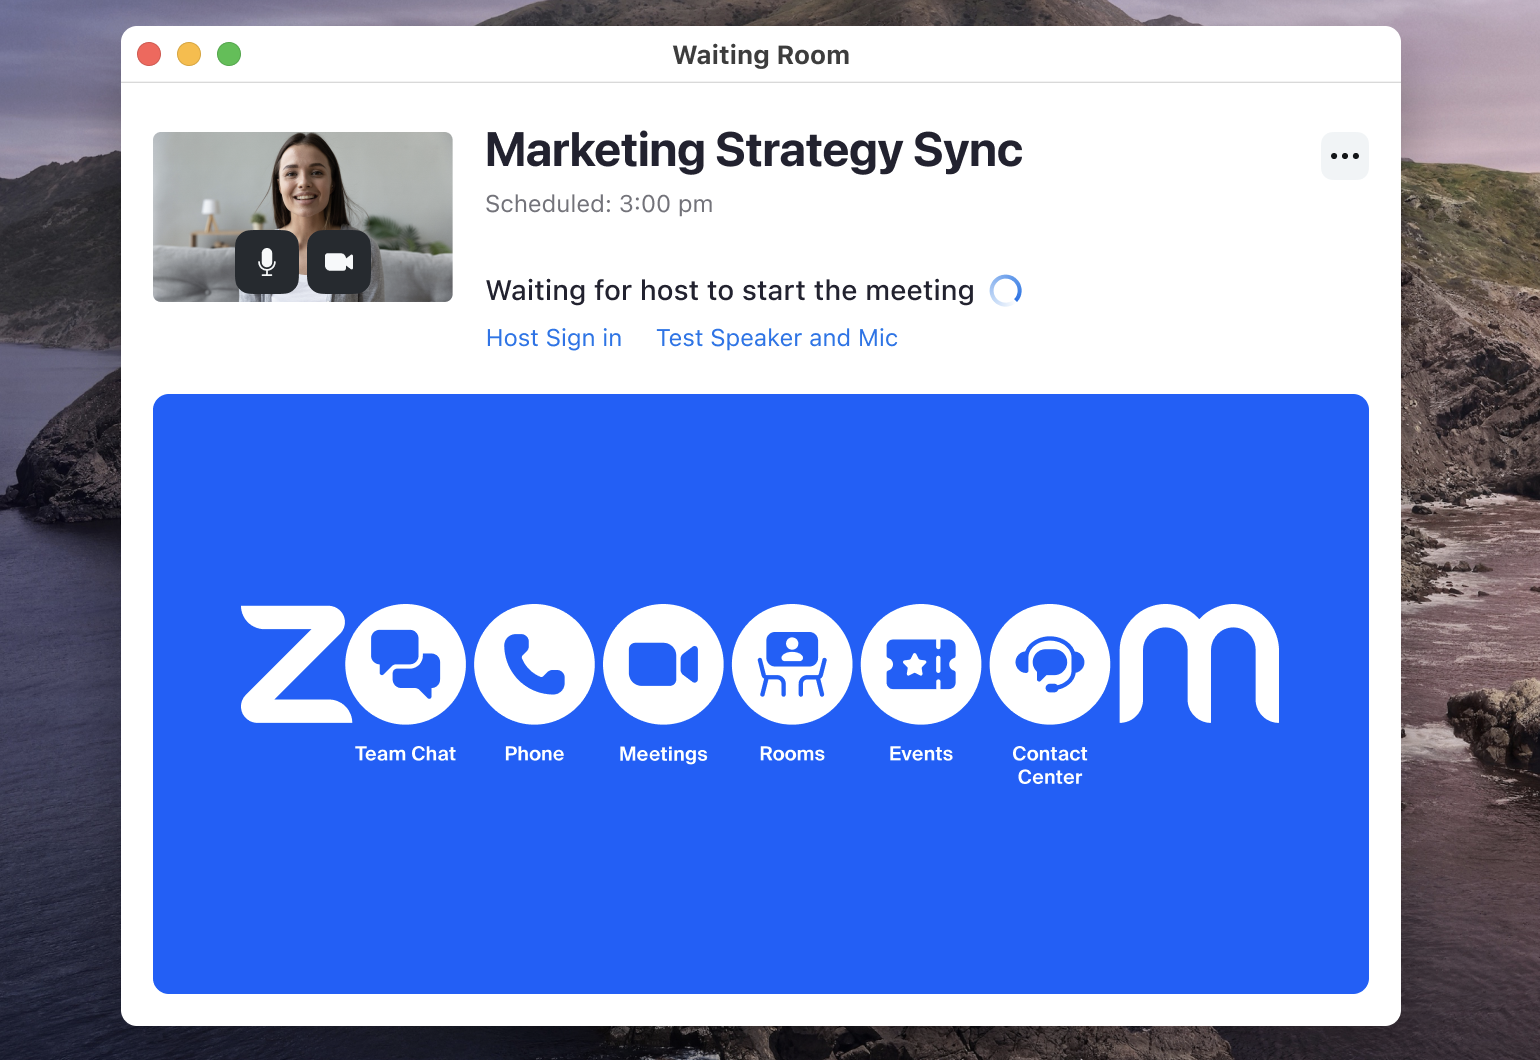
Requirements for enabling and customizing the waiting room for meetings
How to enable or disable waiting room
Enable or disable waiting room for the entire account
This setting allows account owners or admins to enable or disable Waiting room for all users in the account.
- Sign in to the Zoom web portal as an admin with the privilege to edit account settings.
- In the top-right corner, click your profile picture or initials, then click Admin Center.
- In the side menu, click Settings
 .
. - Click Meeting.
- Under Security, click the Enable waiting room toggle to enable or disable it.
- If a verification dialog appears, click Enable or Disable to verify the change.
- (Optional) If you enabled waiting room, under Waiting Room Options:
- (Optional) To prevent all users in your account from changing this setting, click the lock
 icon, and then click Lock to confirm the setting.
If you have enabled Waiting room for all users in the account, you can also allow hosts or co-hosts to rename participants in the waiting room before they enter the meeting.
- Sign in to the Zoom web portal as an admin with the privilege to edit account settings.
- In the top-right corner, click your profile picture or initials, then click Admin Center.
- In the side menu, click Settings .
- Click Meeting.
- Under In Meeting (Basic), click the Allow host or co-host to rename participants in the waiting room toggle to enable or disable it.
- If a verification dialog appears, click Enable or Disable to verify the change.
- (Optional) To prevent all users in your account from changing this setting, click the lock icon, and then click Lock to confirm the setting.
Enable or disable waiting room for a group of users
This setting allows account owners or admins to enable or disable Waiting room for a specific group of users. Changes apply only to users in the selected group.
- Sign in to the Zoom web portal as an admin with the privilege to edit groups.
- In the top-right corner, click your profile picture or initials, then click Admin Center.
- In the side menu, click Users
 .
. - Click Groups.
- Click the applicable group name from the list.
- In the General configuration section, click Edit product settings.
- Click Meeting.
- Under Security, click the Waiting Room toggle to enable or disable it.
- If a verification dialog appears, click Enable or Disable to verify the change.
Note: If the option is grayed out, it has been locked at the account level and needs to be changed at that level. - (Optional) If you enabled waiting room, under Waiting Room Options:
- (Optional) To prevent all users in the group from changing this setting, click the lock icon, and then click Lock to confirm the setting.
If you have enabled Waiting room for a group of users, you can also allow hosts or co-hosts to rename participants in the waiting room before they enter the meeting.
- Sign in to the Zoom web portal as an admin with the privilege to edit groups.
- In the top-right corner, click your profile picture or initials, then click Admin Center.
- In the side menu, click Users .
- Click Groups.
- Click the applicable group name from the list.
- In the General configuration section, click Edit product settings.
- Click Meeting.
- Under In Meeting (Basic), click the Allow host or co-host to rename participants in the waiting room toggle to enable or disable it.
- If a verification dialog appears, click Enable or Disable to verify the change.
- (Optional) To prevent all users in the group from changing this setting, click the lock icon, and then click Lock to confirm the setting.
Enable or disable waiting room for your personal account
This setting allows individual users to enable or disable Waiting room for their personal account. You do not need admin permissions to change the setting, unless it is locked by an admin for the entire account or a group of users.
- Sign in to the Zoom web portal.
- In the top-right corner, click your profile picture or initials, then click Settings.
- In the side menu, click Meeting.
- Under Security, click the Waiting Room toggle to enable or disable it.
- If a verification dialog appears, click Enable or Disable to verify the change.
Note: If the option is grayed out, it has been locked at the account or group level. You need to contact your Zoom admin. - (Optional) If you enabled waiting room, under Waiting Room Options:
Once you've enabled Waiting room, you can also enable the ability for yourself (host) or co-hosts of your meeting to rename participants in the waiting room before they enter your meeting.
- Sign in to the Zoom web portal.
- In the top-right corner, click your profile picture or initials, then click Settings.
- In the side menu, click Meeting.
- Under In Meeting (Basic), click the Allow host or co-host to rename participants in the waiting room toggle to enable or disable it.
- If a verification dialog appears, click Enable or Disable to verify the change.
Note: If the option is grayed out, it has been locked at the account or group level and needs to be changed at that level.
How to configure waiting room options
Note: If the waiting room has been previously customized at the user level then disabled after, when waiting room is enabled in a meeting's settings, the meeting will use the user-level setting until it has been reset, or the account setting has been locked.
- Enable the Waiting room feature at the account, group, or user level.
- Below the Waiting Room Options, click Edit Options to configure the following settings as needed:
- Who should go into the waiting room?
- Everyone: All participants joining your meeting will be admitted to the waiting room.
- Users not in your account: Only participants who are not on your Zoom account or are not signed in will be admitted to the waiting room. If not signed in, they will have an option to sign in.
- Users who are not in your account and not part of your whitelisted domains: Users who are on your account or signed in to a Zoom account at the domains you list will bypass the waiting room. After selecting this option, enter the domains, separating multiple domains by a comma. In addition, Approved SIP/H.323 Devices can be enabled, to have approved SIP/H.323 devices bypass the waiting room feature.
- Users not on the meeting invite: When enabled, participants who receive meeting invitations through Zoom or their third-party calendar integration can directly join meetings without waiting in the waiting room. Learn more about setting up and using the calendar and contacts integration, which is compatible with Google Calendar, Office 365, and Exchange.
- Users not in your organization: When enabled, participants from any account connected within their organization will bypass the waiting room while external participants remain subject to waiting room controls.
- Sort order of people in the waiting room in the participants panel: Choose if you want to sort participants in the waiting room alphabetically or by the order in which they joined.
- Customize Waiting Room Options: Admins can control if their users can add a custom logo for their waiting room by selecting or clearing the Do not allow the host to add a custom logo check box. This will prevent users from uploading non-compliant logos to their waiting rooms.
- More Options:
- Users invited during the meeting by the host or co-hosts will bypass the waiting room: Users that the host or co-host invited during the meeting will bypass the waiting room. This applies to users invited directly through Zoom during a meeting, a Zoom Events speaker who is assigned to a meeting session, or users invited by phone.
Note: This setting doesn't apply to inviting a Zoom Room or room system. The invited room will always be placed in the waiting room. Live assistants who join meetings via the dashboard or administrators using a web-based controller are also exempt from these settings. - Allow participants in the waiting room to reply to host and co-hosts: Allow participants to chat back and forth with participants in the waiting room. Waiting room messages can be sent to all participants in the waiting room or just individual participants. Only the host/co-host can see responses from those in the waiting room.
- If the host and co-hosts are not present:
- Move participants to the waiting room if the host dropped unexpectedly: Selecting this option will disable the Allow participants to join before host feature.
- Move participants to the waiting room if the host leaves during the meeting
- Automatically admit everyone to the meeting when a host joins
- Click Continue.
- (Optional) If you're an admin enabling or disabling waiting room options at the account or group level, to prevent users from changing this setting, click the lock icon, and then click Lock to confirm the setting.
How to customize the waiting room with an image, logo, or video
You can customize the waiting room by adding a title and choosing to display an image, a logo and description, or a video. Customized waiting rooms are only visible when the meeting is scheduled with Waiting Room enabled. If enabled during a live meeting through the in-meeting security controls, participants will see the default waiting room.
- Enable the Waiting Room feature at the account, group, or user level.
- Below the Waiting Room Options, click Customize Waiting Room.
This will open the waiting room customization window. A preview of what the waiting room will appear to participants as is shown to the right and updates as changes are made.
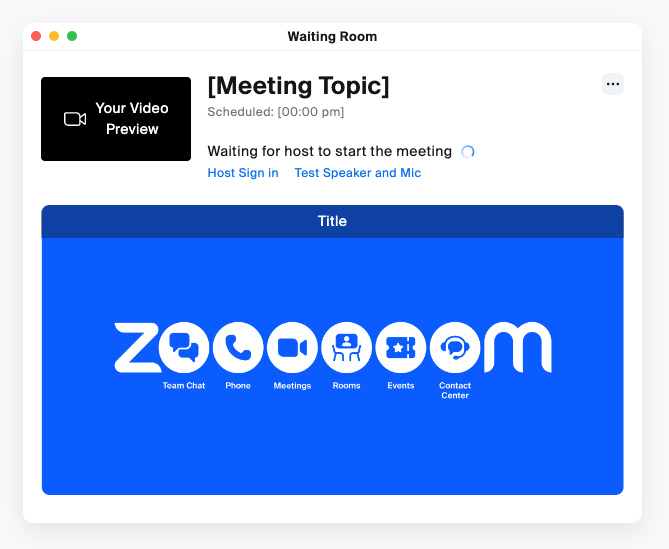
The following customization options are available:
- Title: Click inside the text box to update the waiting room title. Titles are limited to 64 characters.
- Participants in the waiting room will see:
- An image: Display an image with the title overlaid along the top of the image. Choose between the Allow AI on this account image, Zoom Workplace image, or upload your own. Uploaded images must meet the following requirements:
- GIF, JPG, or PNG
- Maximum size: 1 MB
- Minimum resolution: 400x200 pixels; a 2:1 aspect ratio is recommended for higher resolutions
- A logo and description: Display the title, an uploaded logo, and a description.
- Logo: Click Upload Logo to select a file. Uploaded logos must meet the following requirements:
- GIF, JPG, or PNG
- Maximum size: 1 MB
- Resolution: 60x60 to 400x400 pixels
- Description: Click inside the text box to update the description. Descriptions are limited to 400 characters.
- A video: Displays the title message and an uploaded video.
- Video: Select a file to upload or choose a video from your Clips. Uploaded videos must meet the following requirements:
- MP4, MOV, or M4V format
- Maximum size: 30 MB
Note: Videos can include audio, but are muted by default.
- (Optional) Click the device toggle
 to switch between desktop and mobile previews.
 - Click Save when you are finished customizing the waiting room.
Participants will see your custom waiting room branding when they join the meeting. - (Optional) If you're an admin enabling or disabling waiting room customization at the account or group level, to prevent users from changing this setting, click the lock icon, and then click Lock to confirm the setting.